Building the Sun Lodge
/At the end of September in 2013, we decided that there might be alternatives to living in a wall tent for another winter. The berries were picked, fish mostly hung, and we had gotten a wonderful moose close to home, so we actually had time to consider a building project. David had made several cabins and earthlodges before, and keeping in mind the late season, he created a design on paper. It would face due south, for passive solar gain, and be dug deep into the hill, to take advantage of the relative warmth of the earth. The roof would be covered in sod for insulation. Building in October in Alaska is risky business. We knew that any day the river could start freezing up, the ground could freeze, and snow could cover our plans. Nevertheless, we started out by gathering materials that we needed the boat to access.

Unloading freshly-milled boards for table and shelves just in the nick of time.

The boat often looked more like a raft!
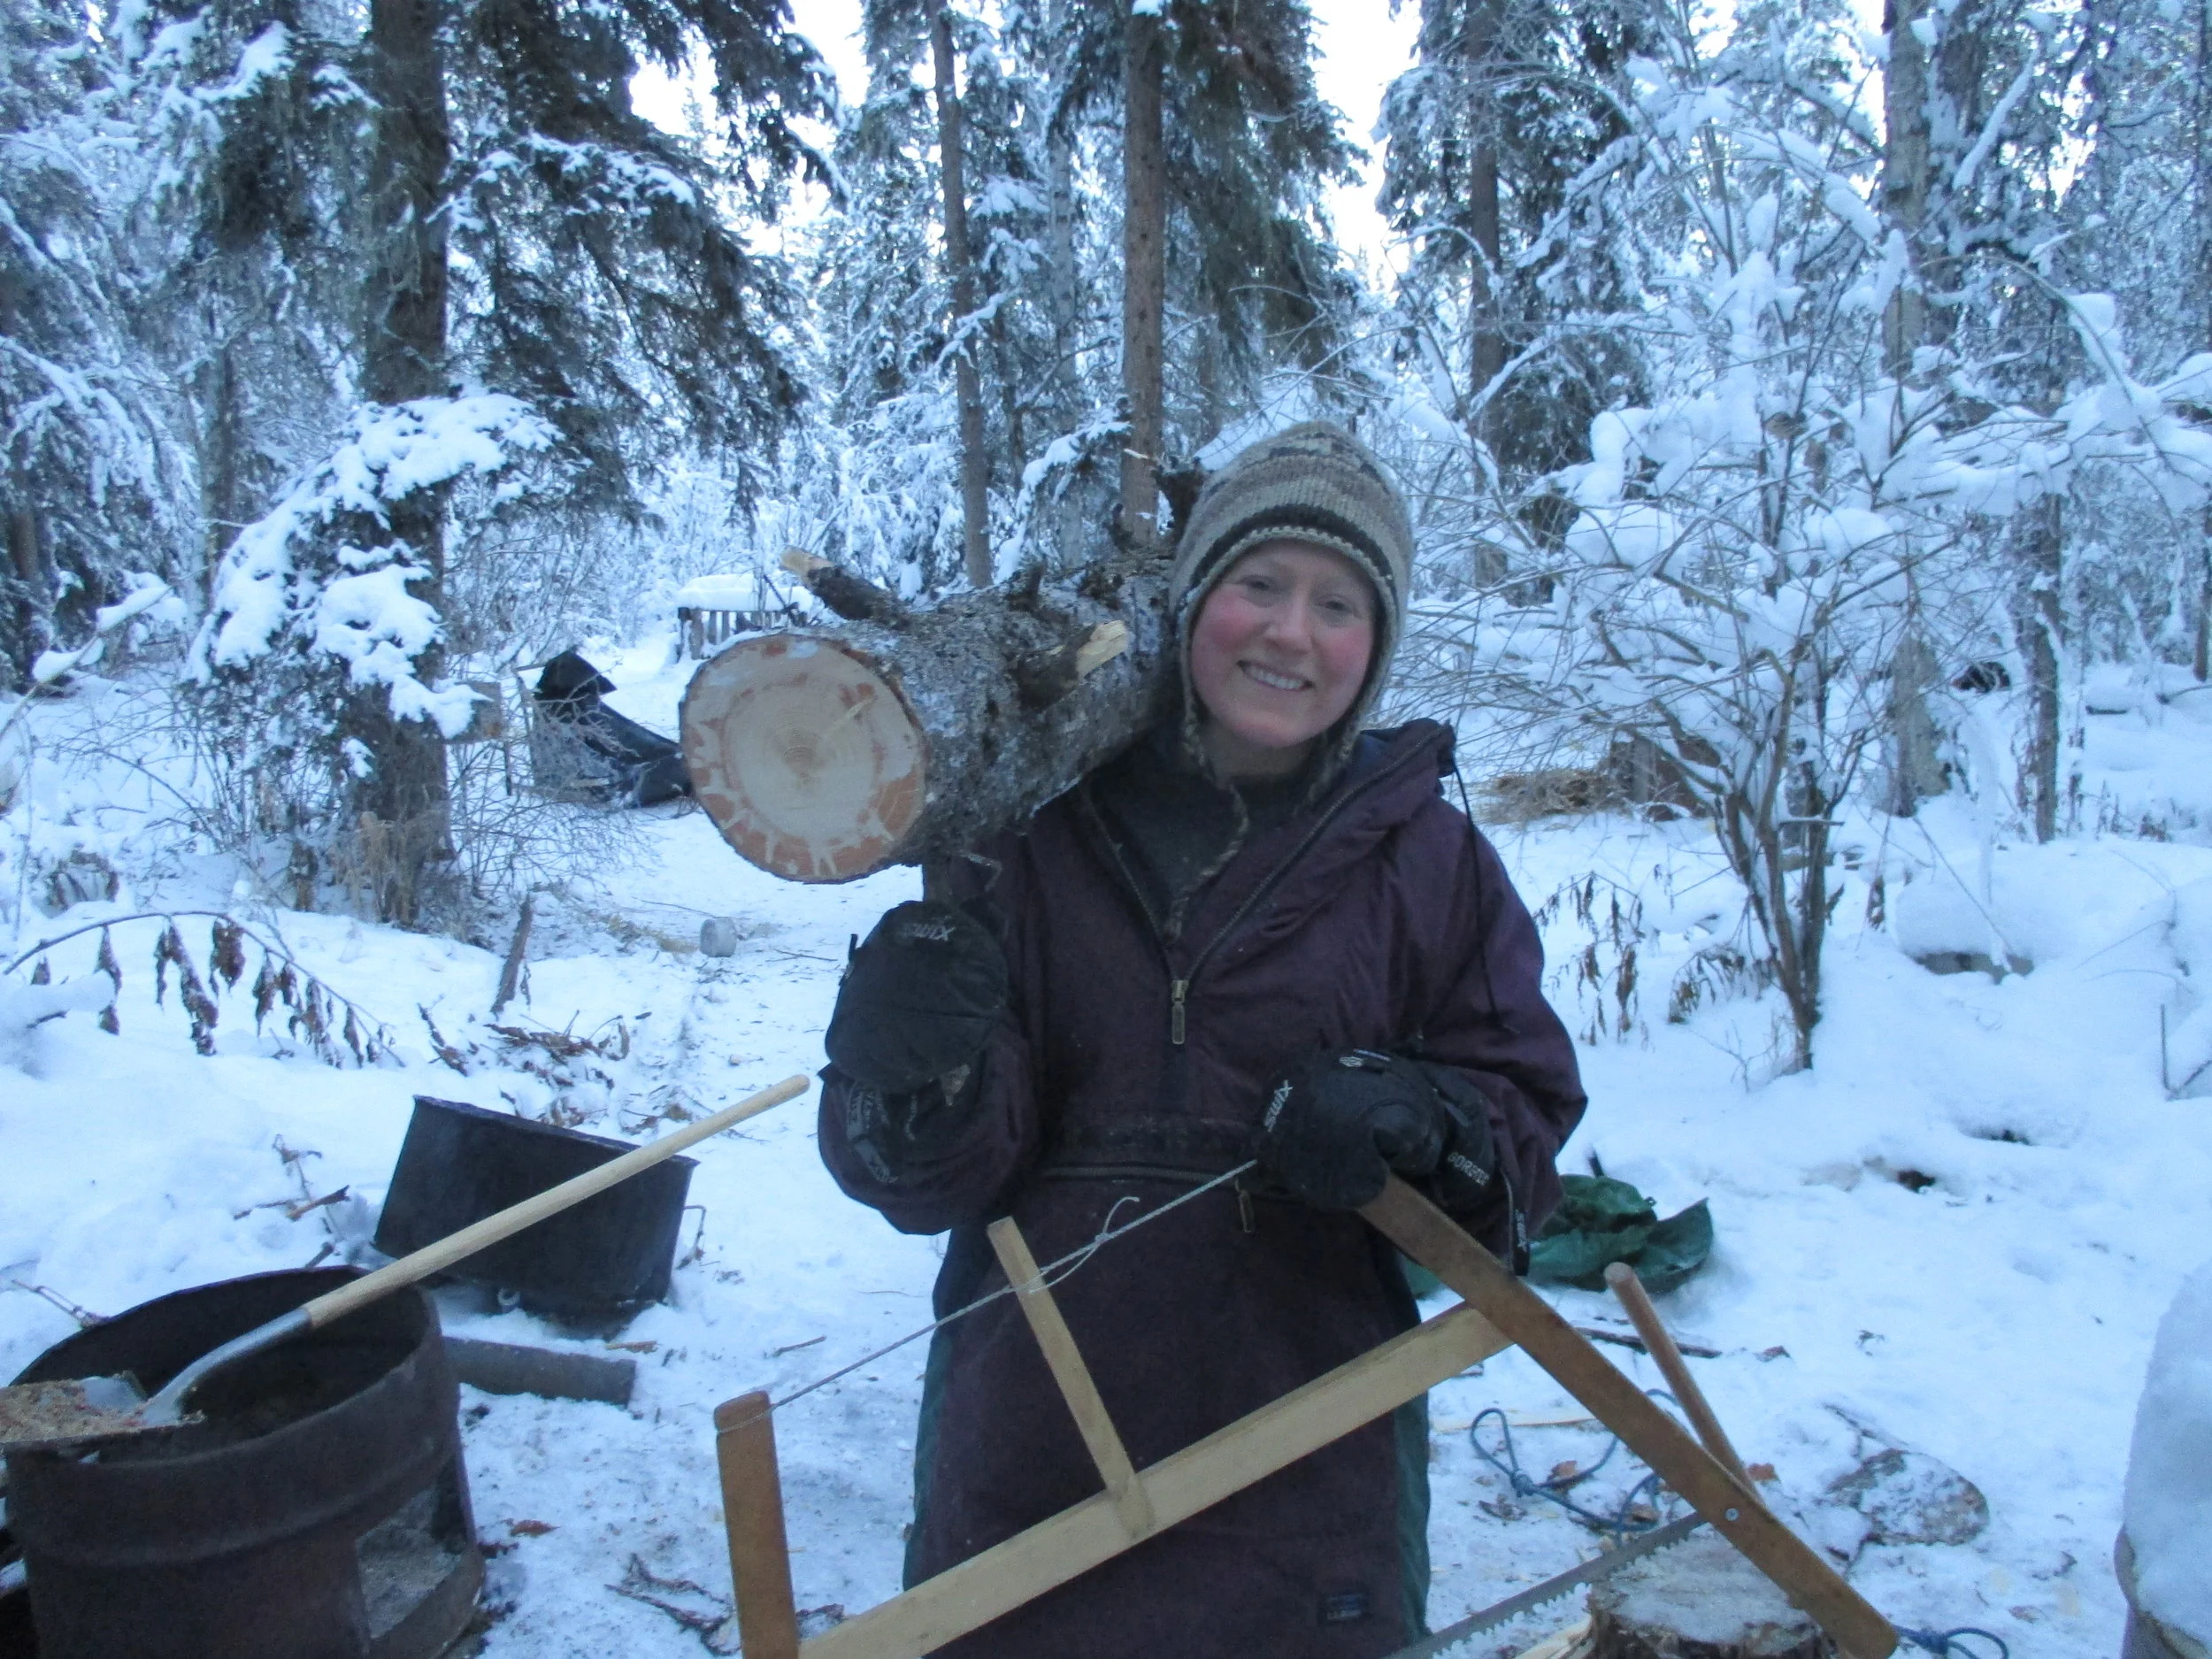
Step 1: Gather materials. Mostly, we used sticks and stones. We boated along the river and collected 99 flat rocks on which to rest the vertical poles and to create a fire hearth area. Next, we harvested about 12 large dead spruce logs and 150 mostly green spruce poles. All materials were harvested close by and lugged on our shoulders.
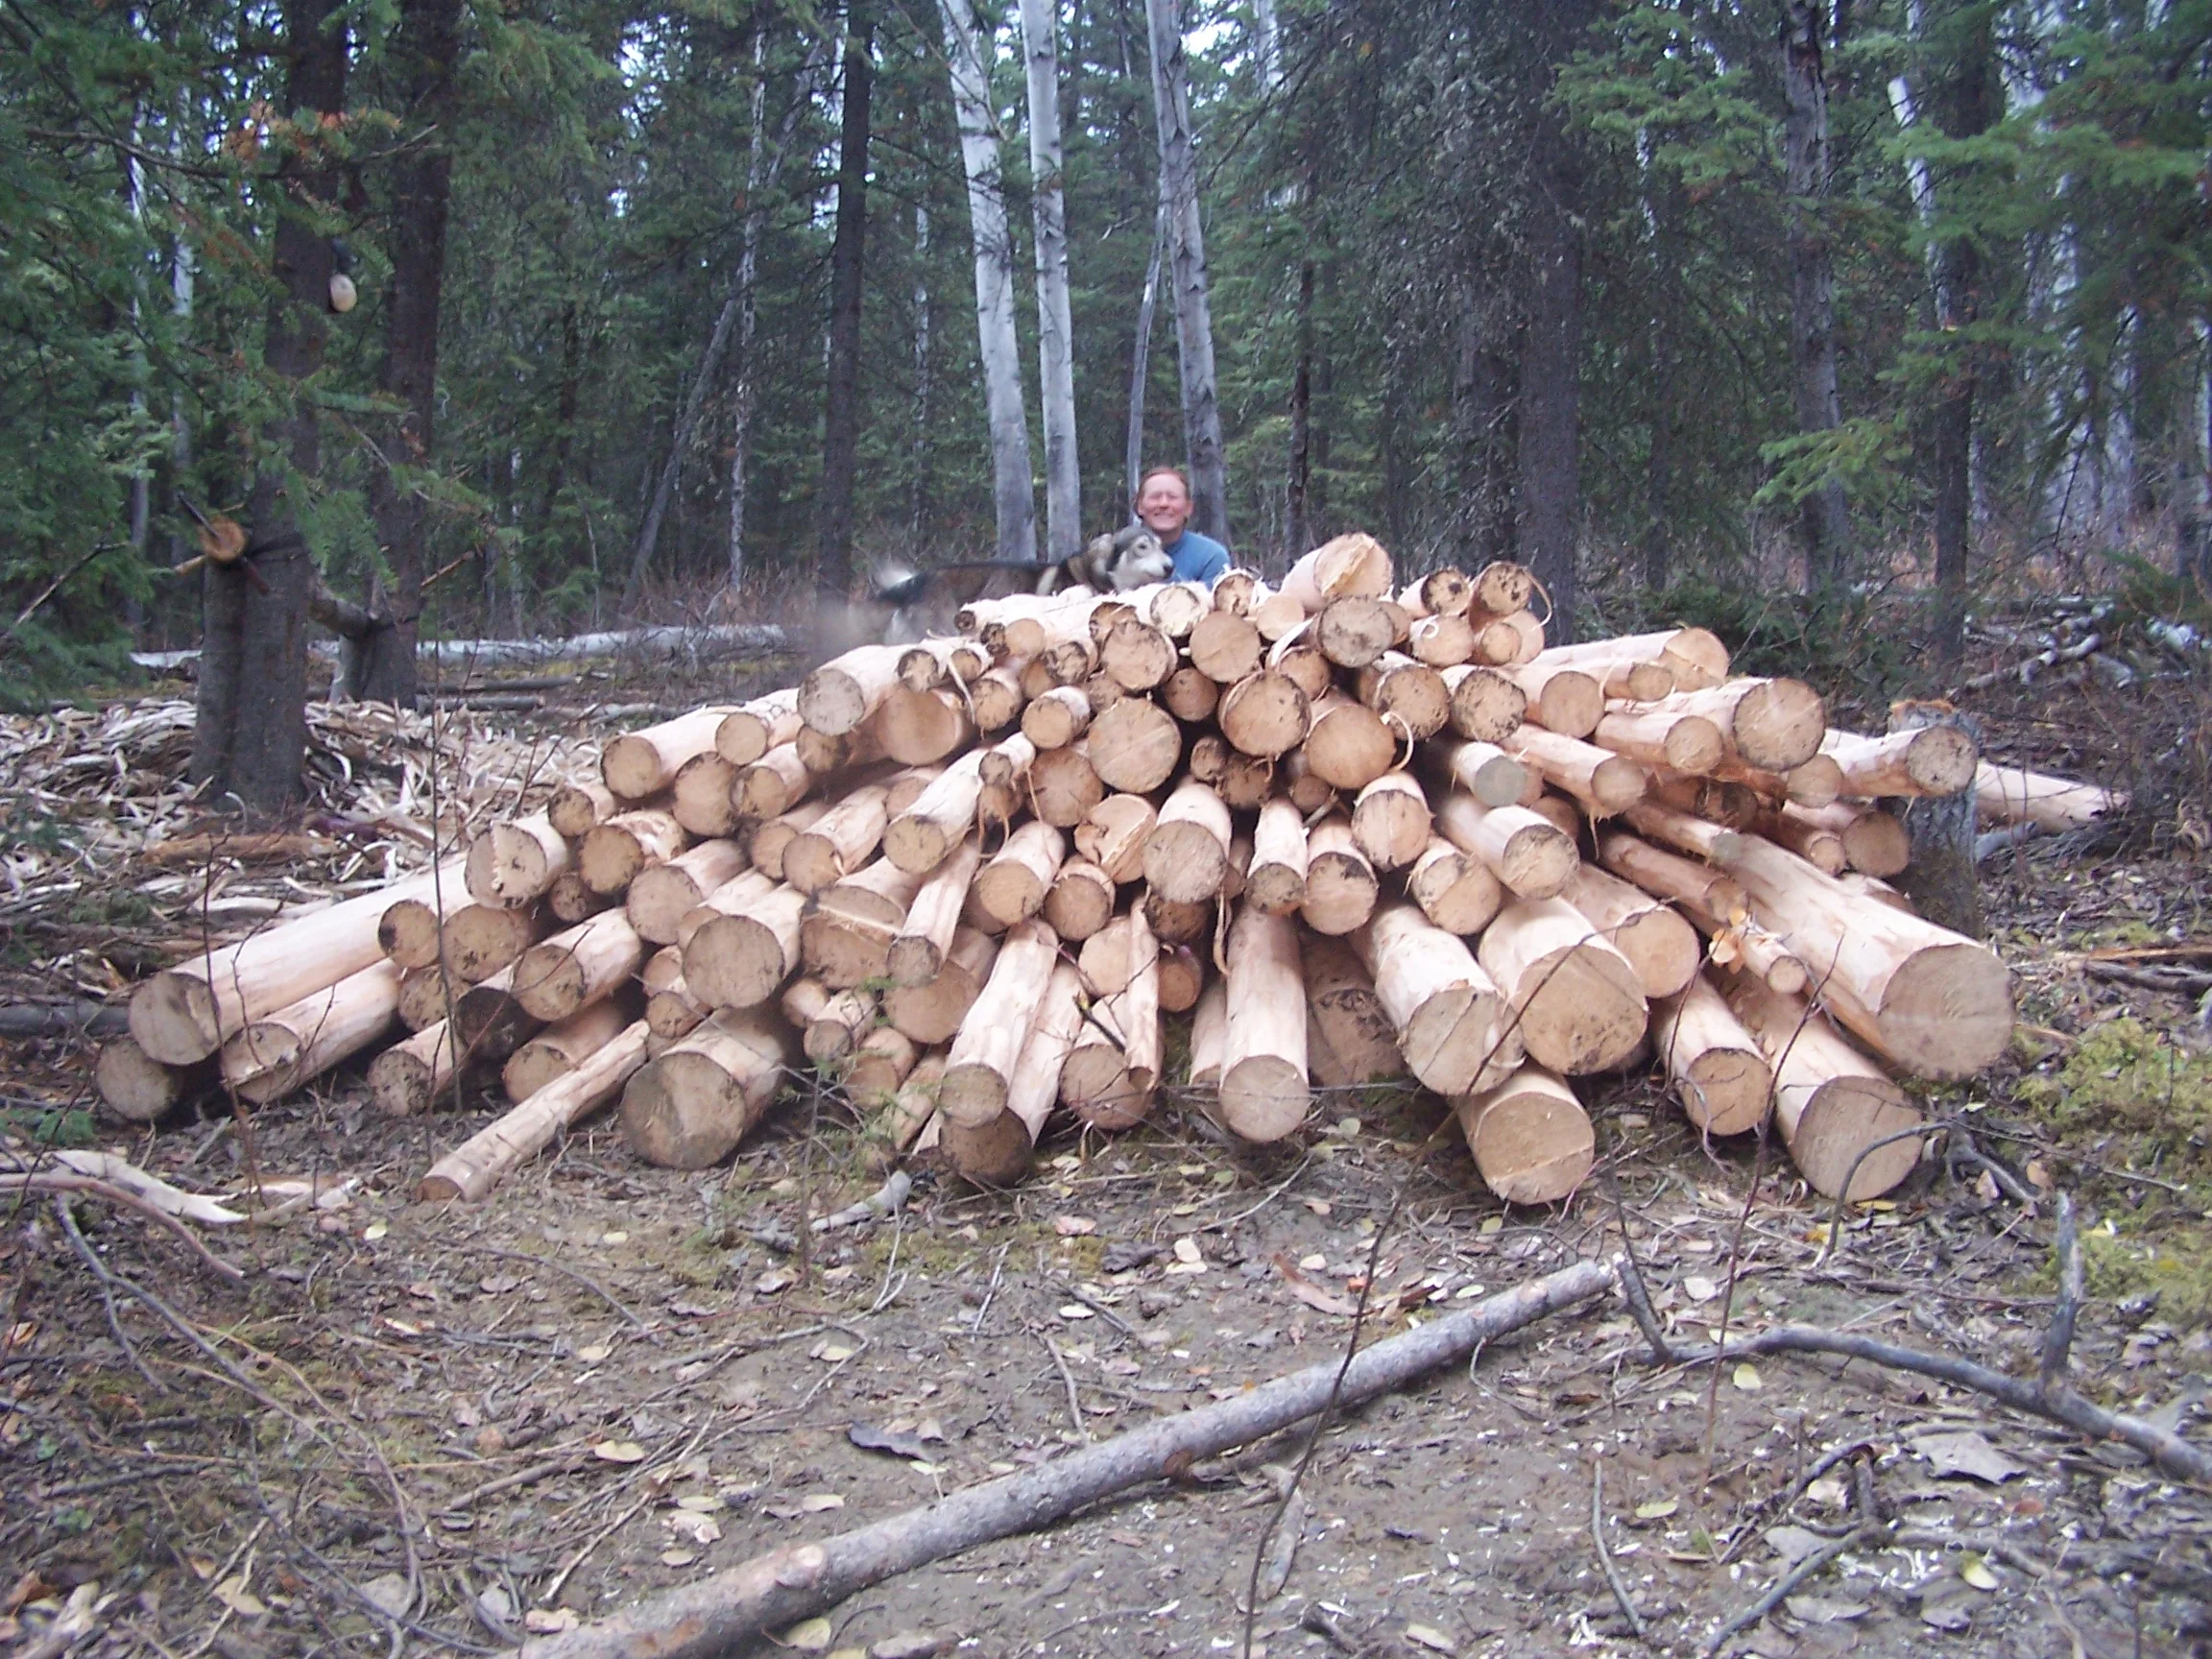
Jenna and minto model the very large pile of small poles

Jenna hauls rocks up the 60-foot bluff. 99 times.
Step 2: Process materials. As in, peel the poles. All the poles. We listened to a lot of public radio during our daily peeling sessions.

David split this large spruce with a small chainsaw.

Jenna peels some of the larger front wall pieces.
Step 3: Dig a hole. David described it as equivalent to digging twenty outhouse holes. The footprint of the lodge is about 14' X 18'. The back wall of the hole we dug was about 5.5' tall. Luckily, the soil is loess (wind blown silt) and the largest rock we encountered the whole time was smaller than a penny. We sharpened our shovels and got to work.

David takes a bite out of the silty soil.

At its deepest, the hole was just over 5 feet (Jenna is 5'5)
Step 4: Build the frame. We dug holes and buried our 5 big post poles about 5 feet deep. We did a LOT of tamping to get the powdery silt to compress and secure the posts . We cleverly scheduled our digging so there was still solid high ground to stand on in order to get the beams on top of the 8 and 12-foot tall posts.

The frame!
Step 5: Lay on the poles! We did this in a day and it felt great. David added additional braces inside for strength and a frame for the stovepipe to exit the cabin. We used 12" spikes to hold the frame together. We also fitted large logs to make the front wall and David framed out the window and door.

fort sun lodge!

David exercises good balance while nailing in spikes

Bracing and "chimney box"

extra braces for strength. Note the small burl on the wall.
Step 6: Unroll the vapor barrier. If we had planned ahead we would have used birch bark panels for a vapor barrier but we did this one with a very durable pit liner from Alaska Tent and Tarp. This accounted for $750 of the just under $1000 we spent on the project.
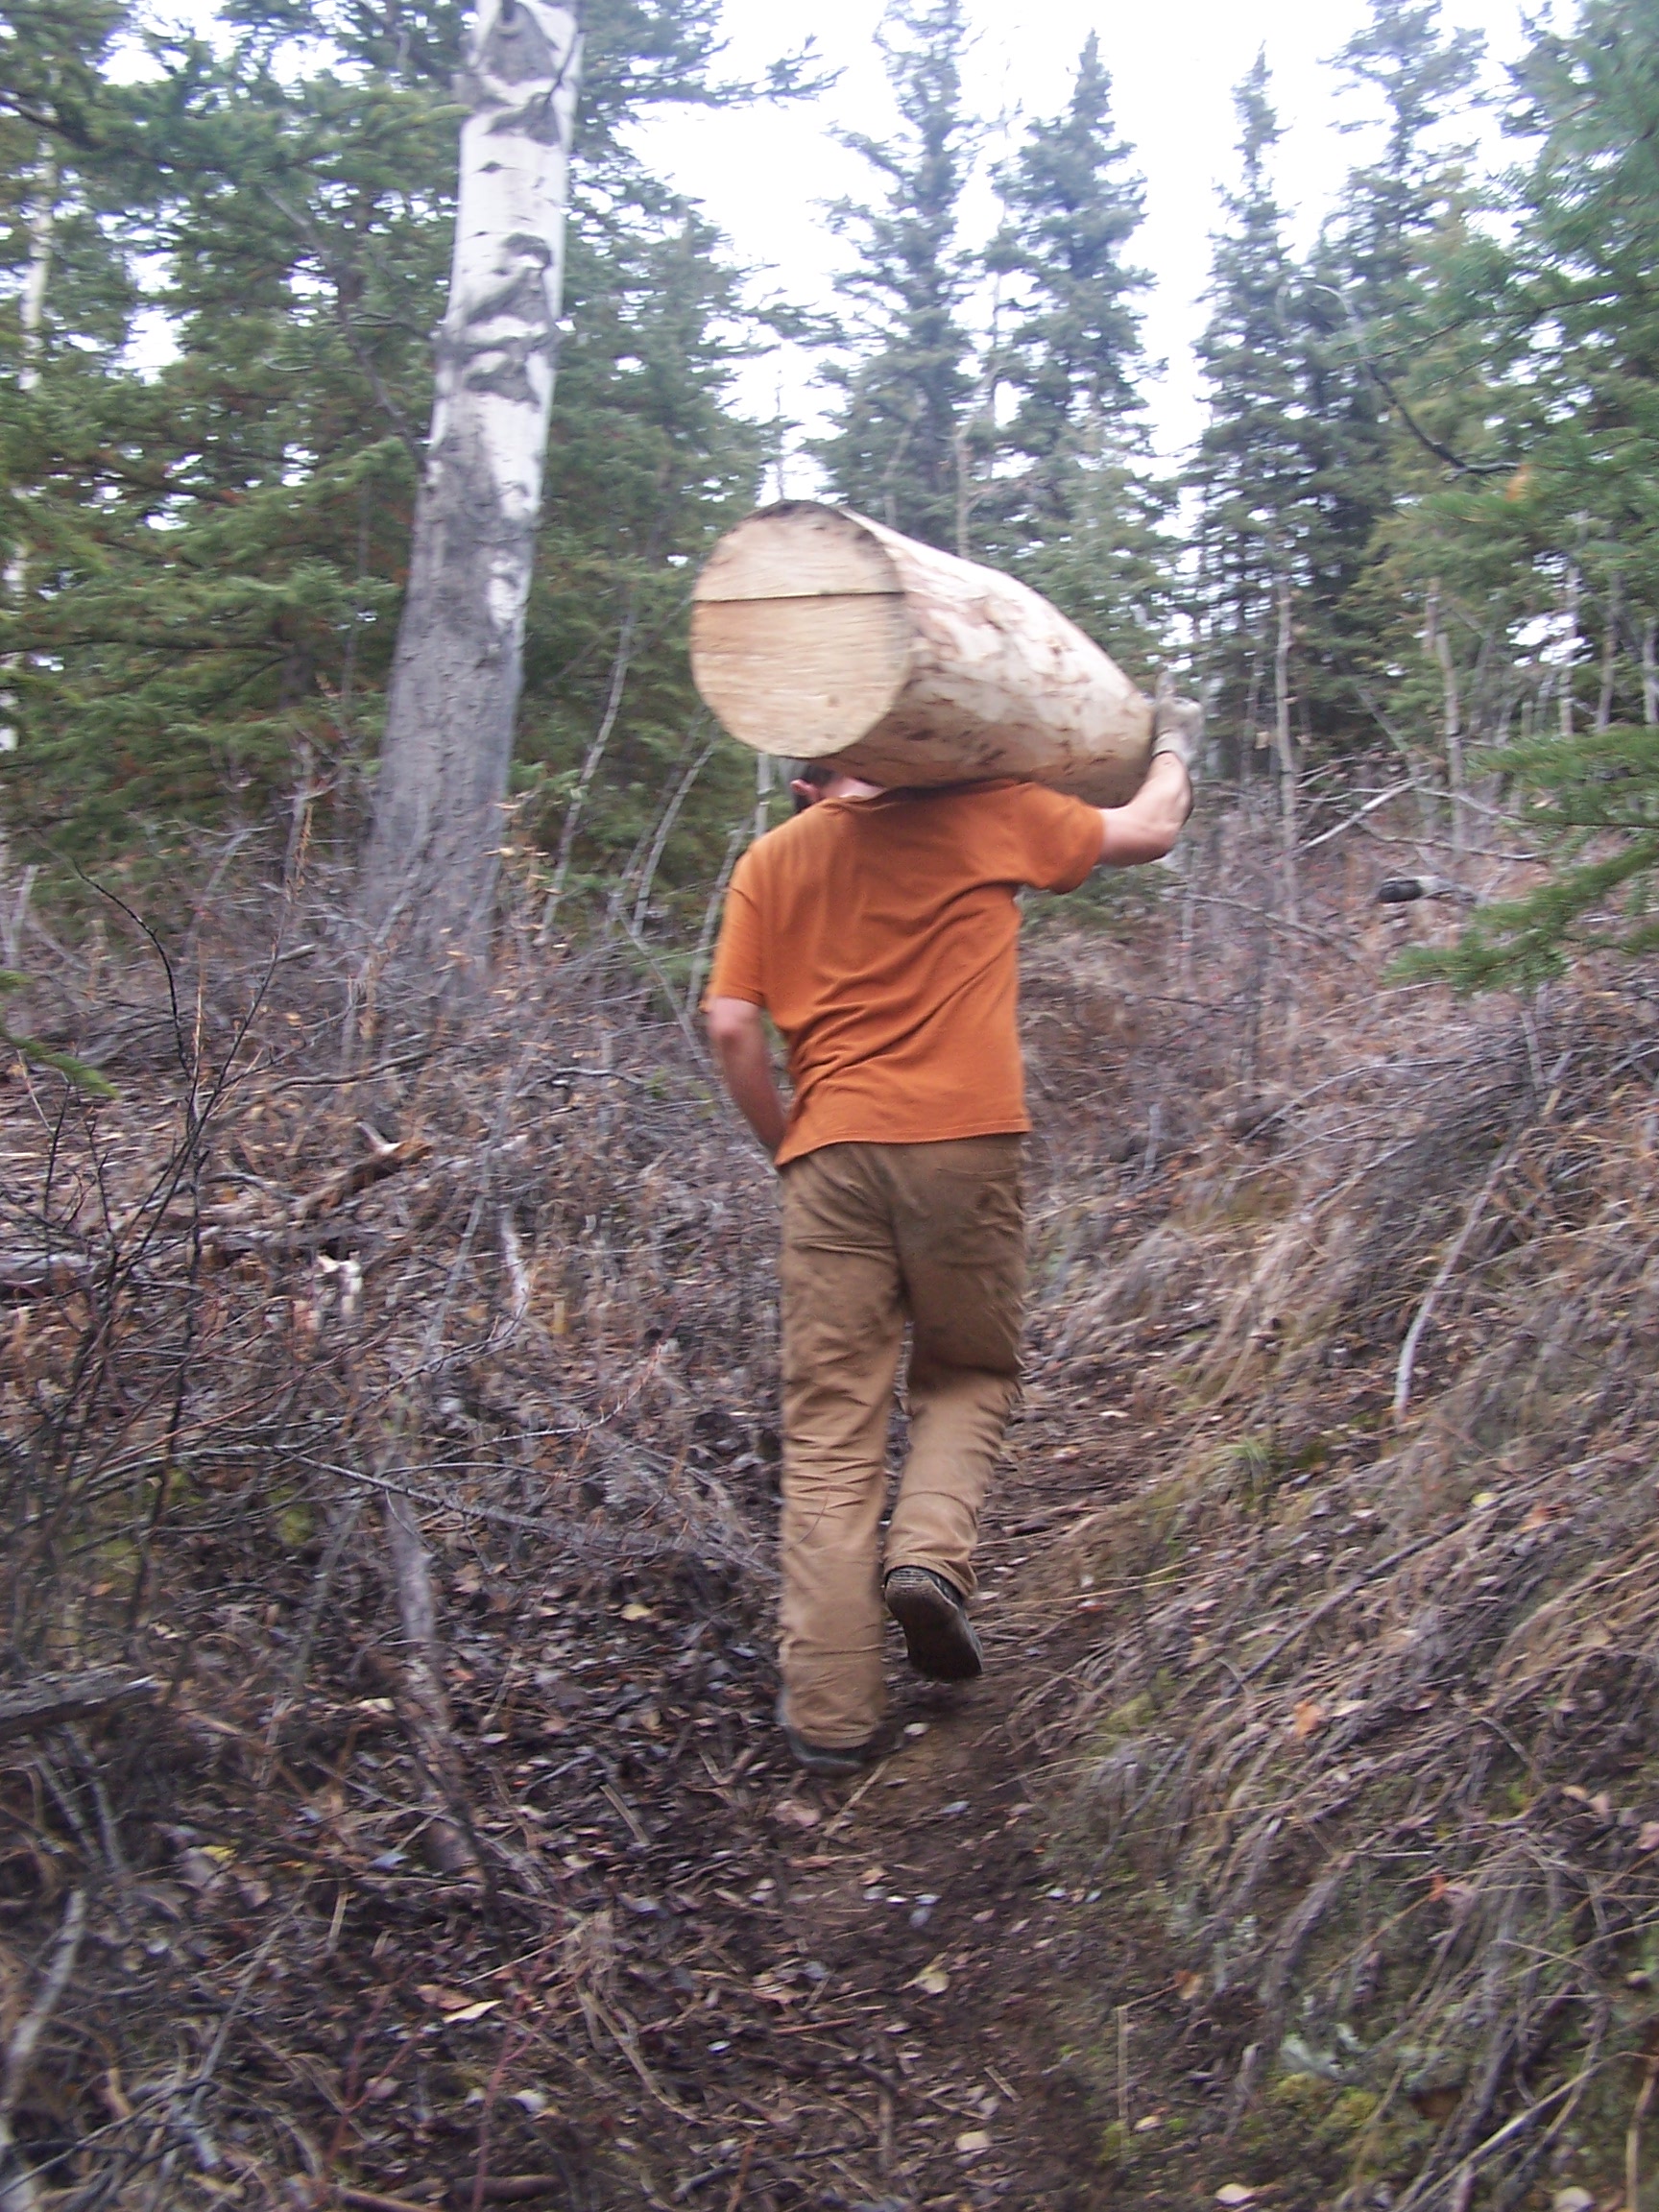
Hauling logs up the hill method 1- muscle powered.

Hauling logs up the hill method 2- block and tackle, comealong, and old dogsled.
Step 7: Back fill and cover it with dirt! At this point, it was getting pretty chilly so we used dirt leftover from digging the hole and didn’t get to covering it fully with sod until spring.
The lodge pre-window and door.
Step 8: Finishing touches. We put in recycled windows (very interesting getting them up the hill). David milled up some spruce boards and made a door with wooden hinges and curved birch branch handle. We stuffed moss into the cracks to seal the front wall.


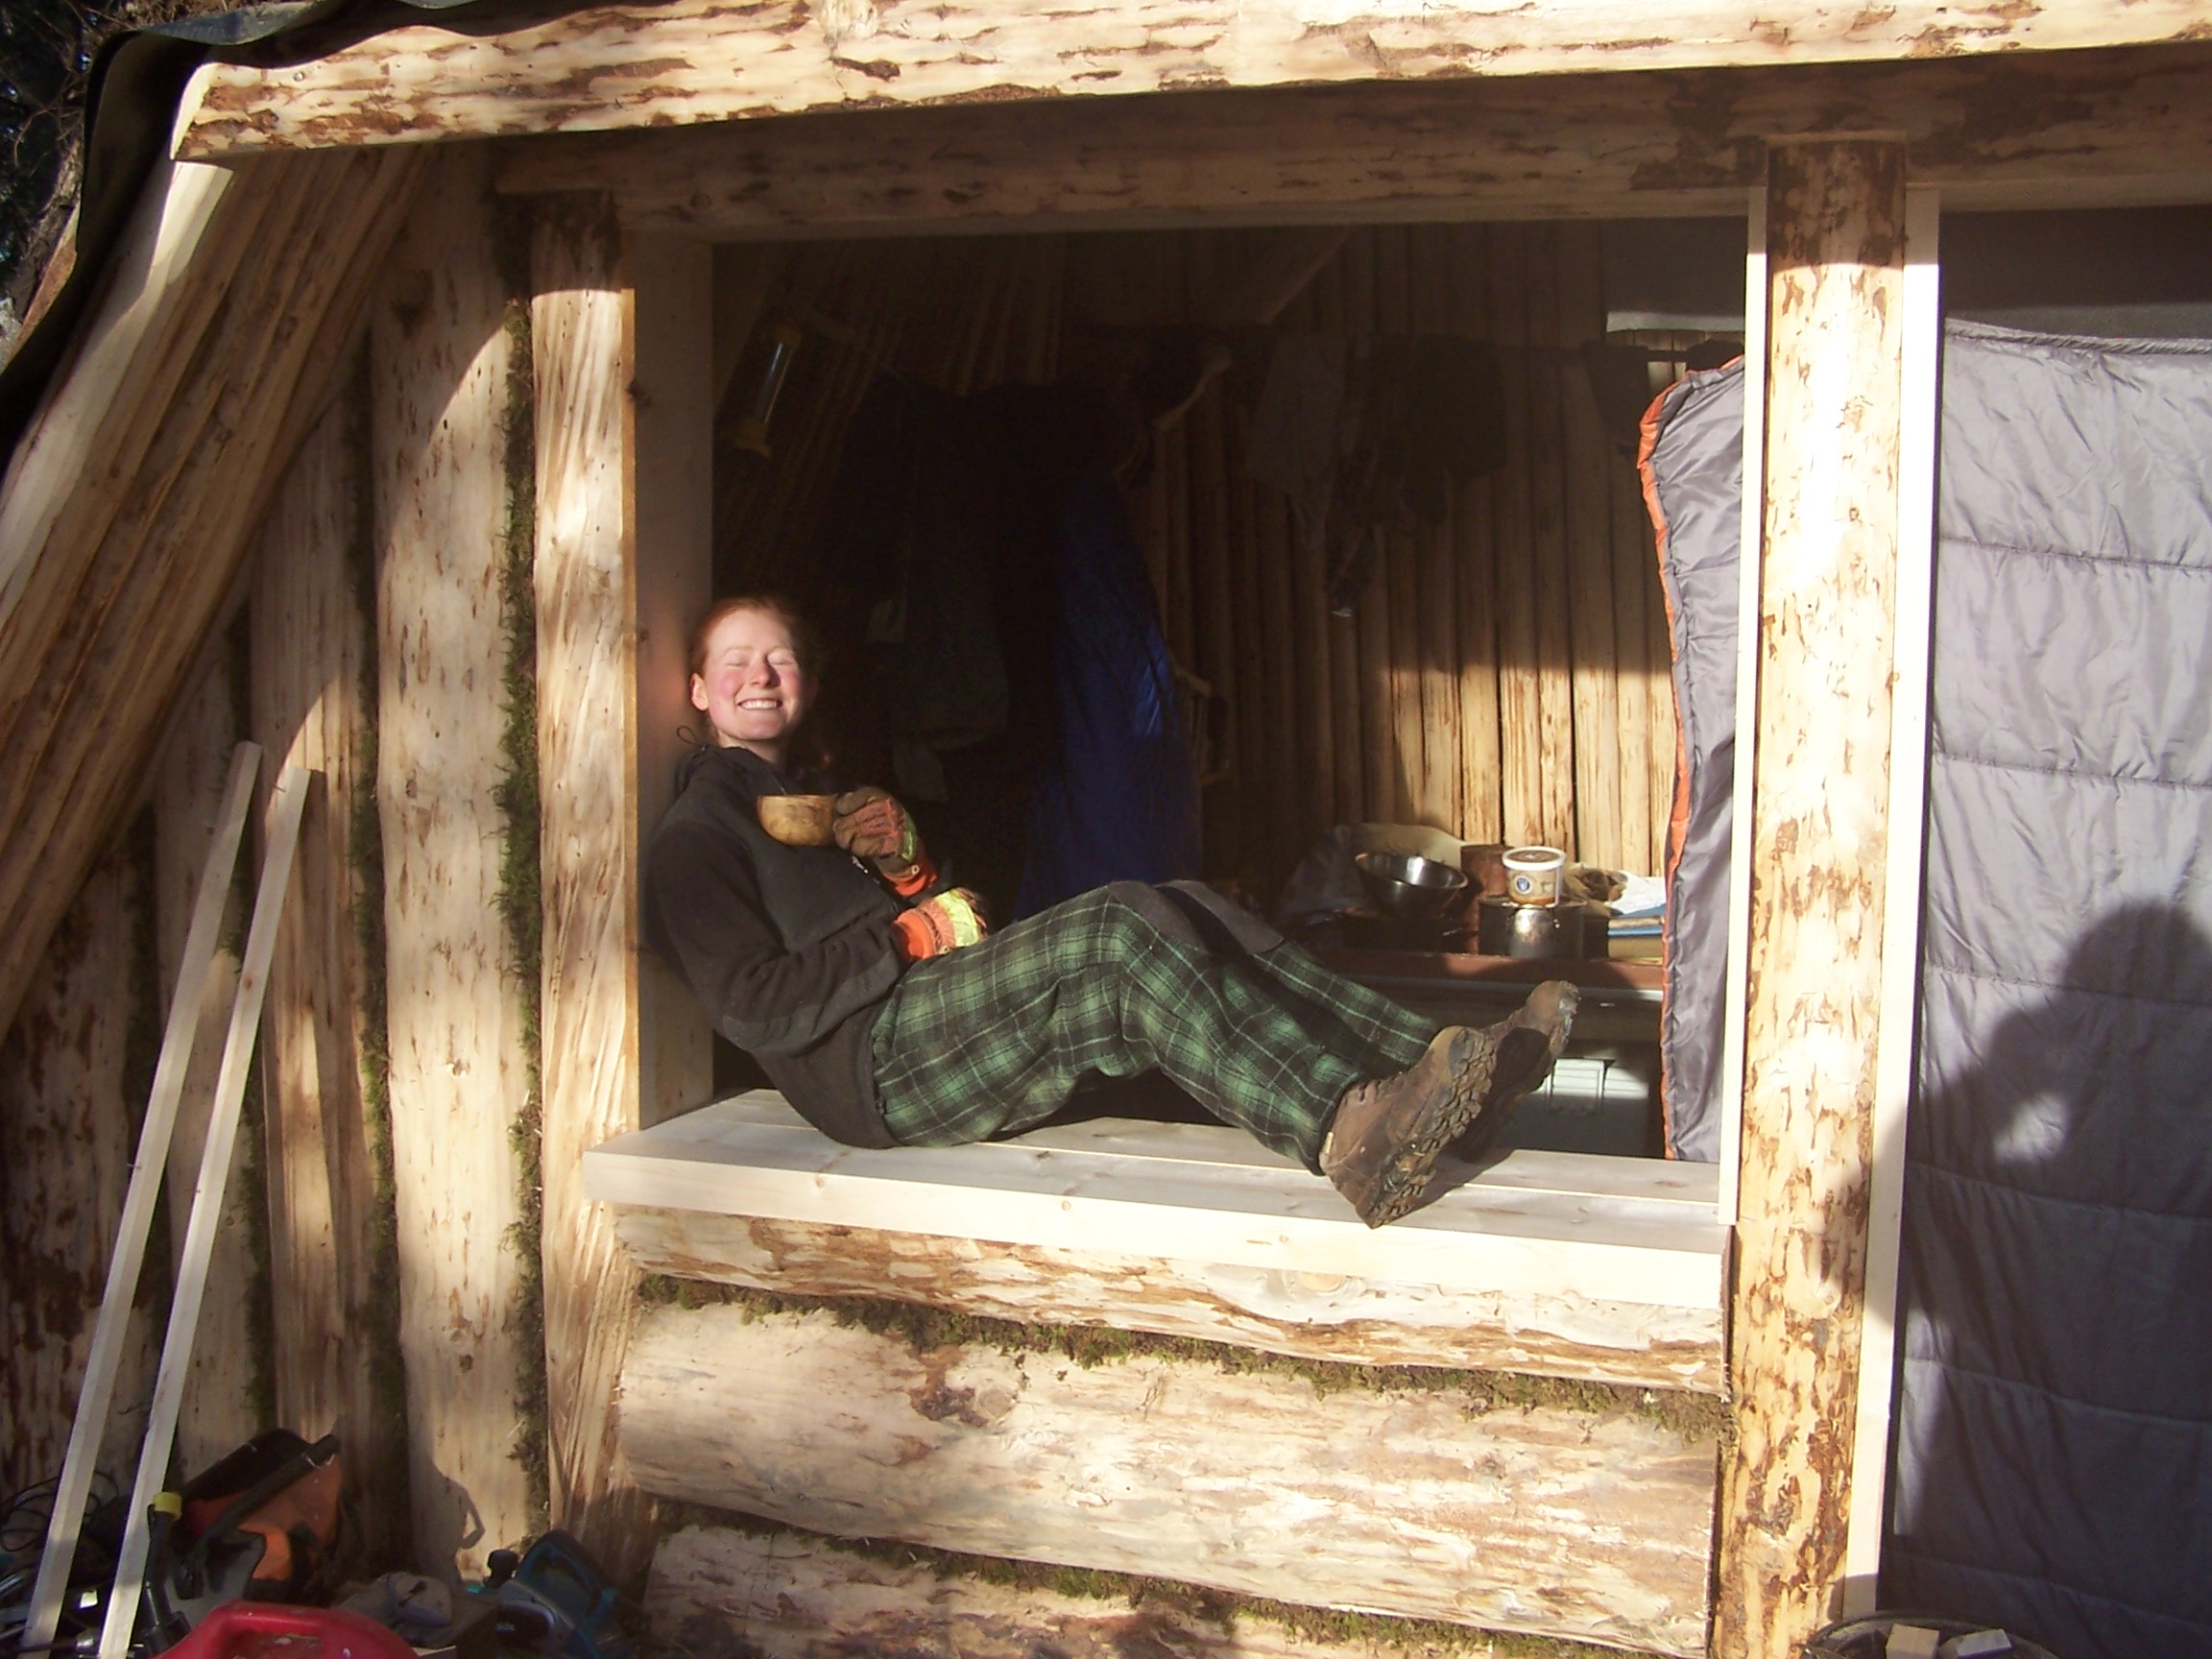
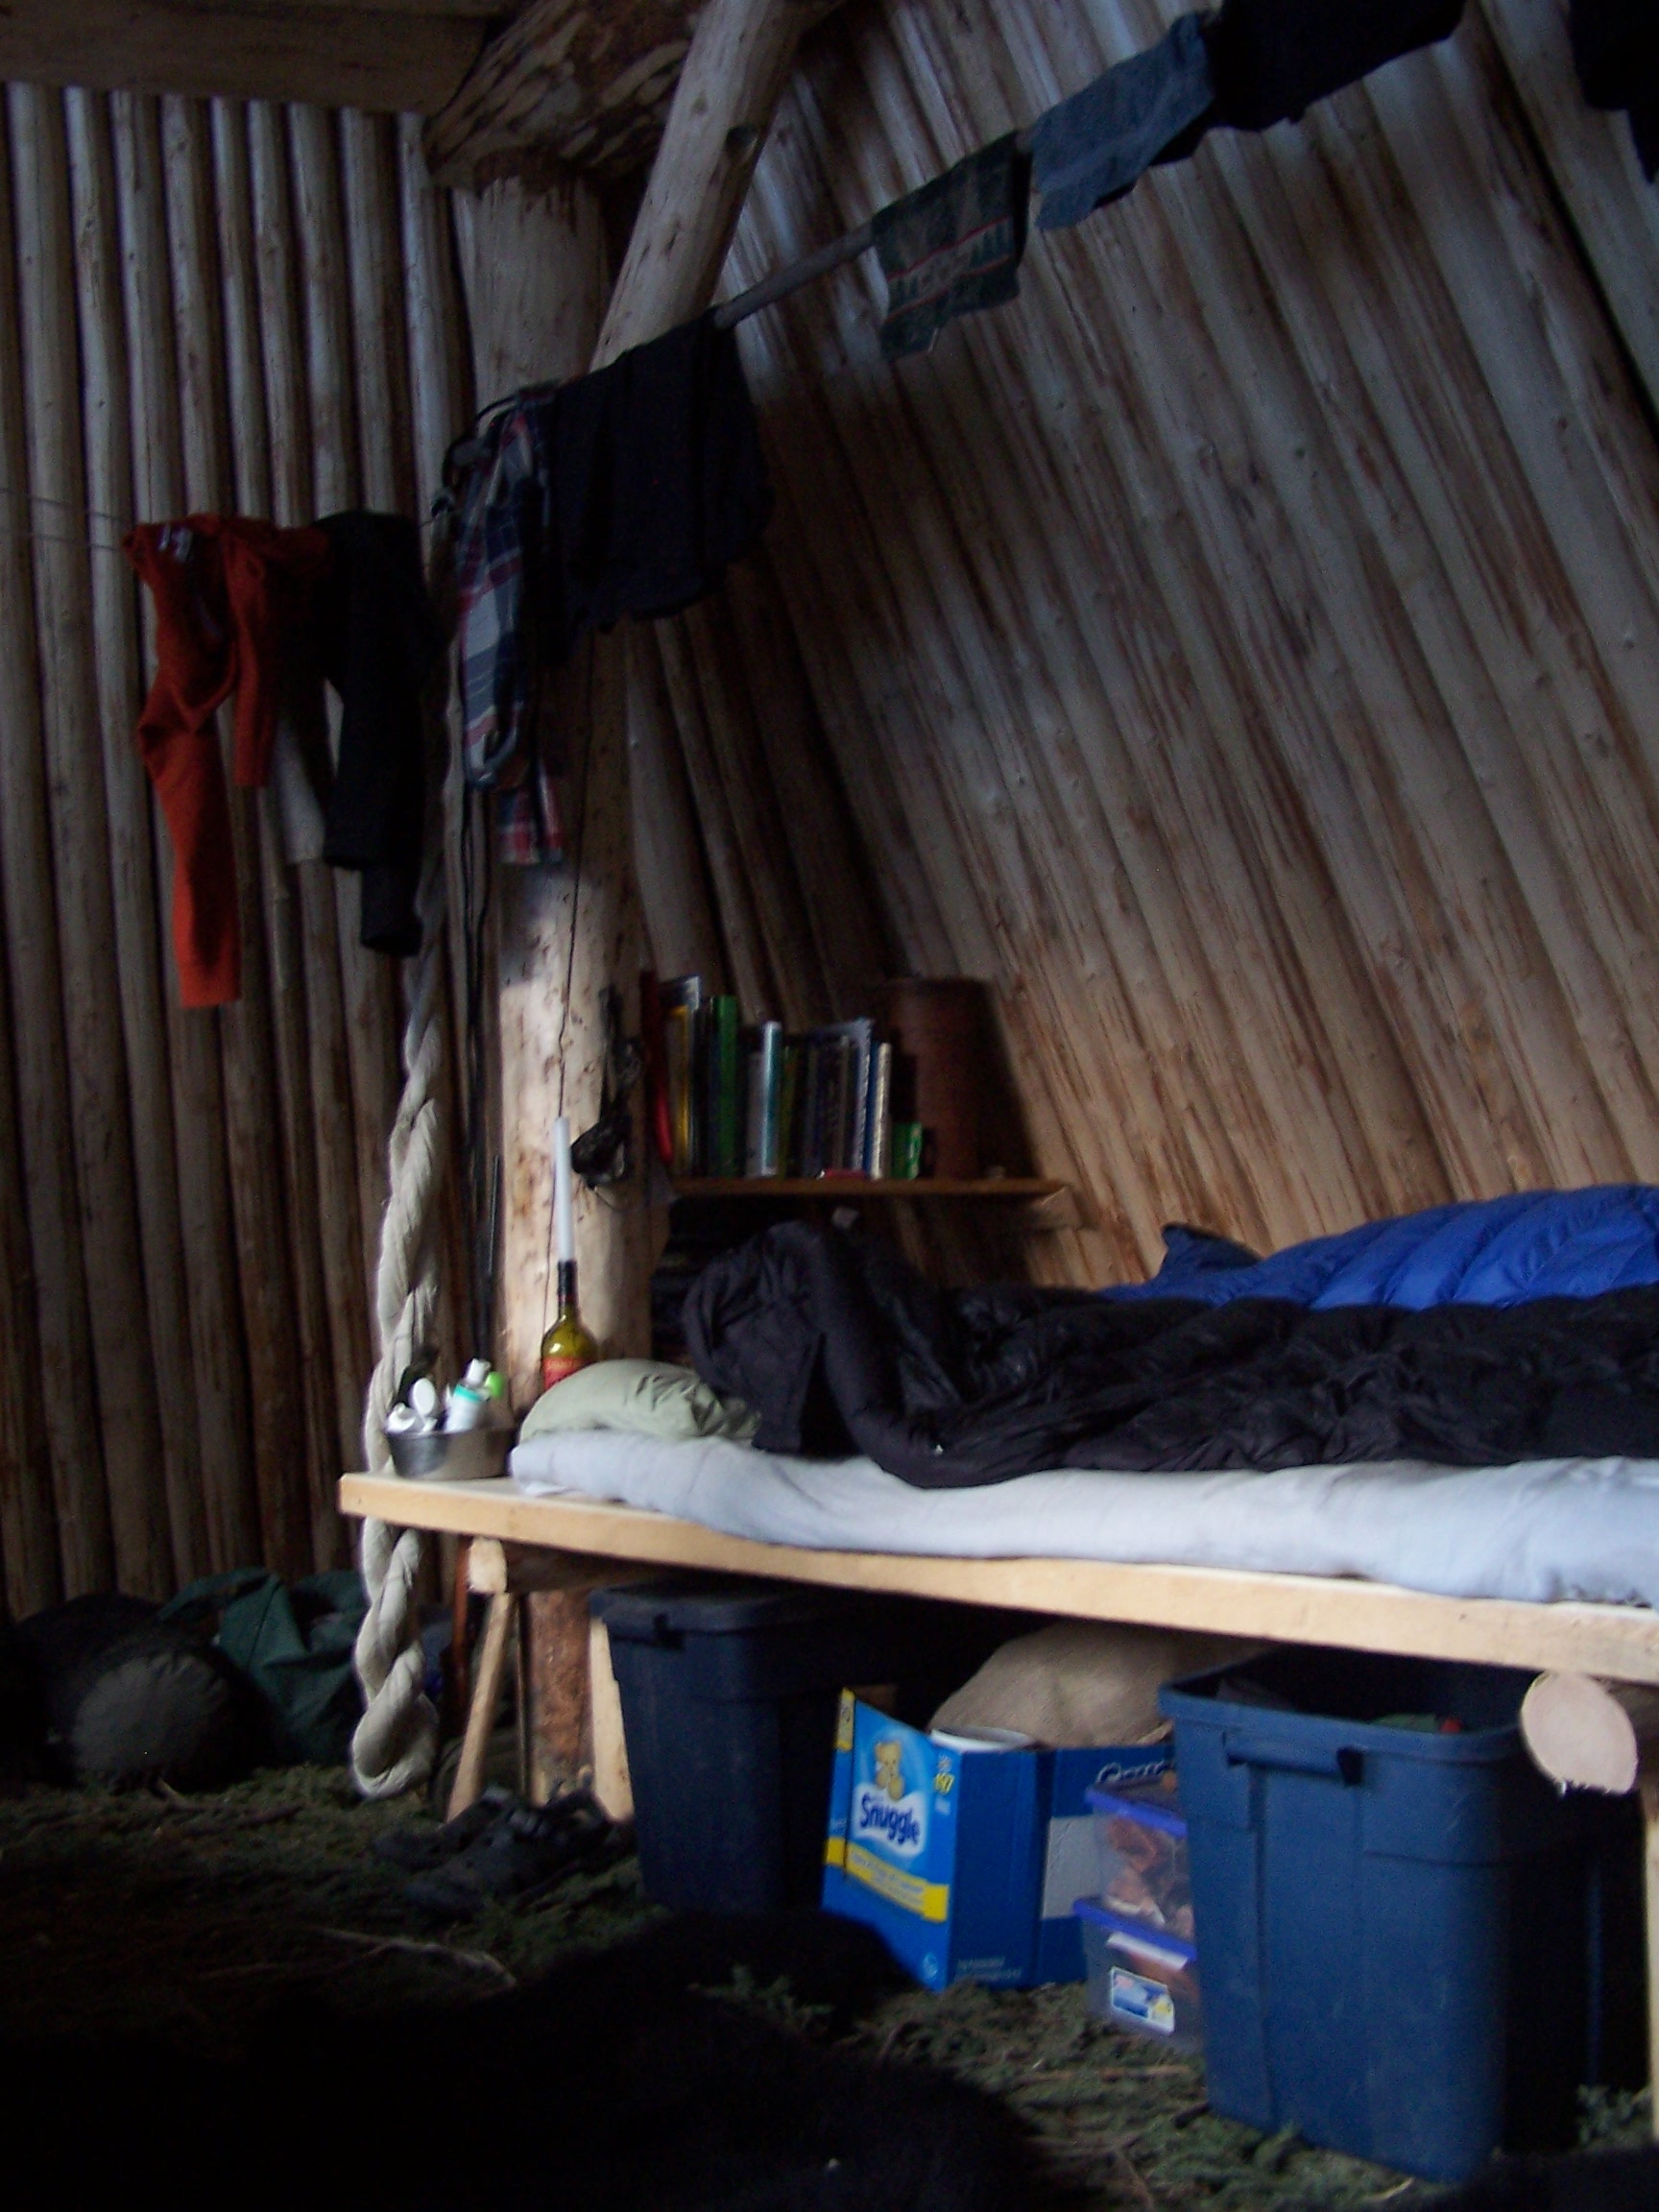
There were enough boards to also make a bed, table, and a few shelves.

David made a big woodstove from an oil drum that we rescued from the river and….

Making the woodstove from this recycled barrel

This is the"stove jack" box
Viola! A cozy, warm, inexpensive, and totally homemade home in less than two months. If you want for more details, send us an email. borealjourneysak@gmail.com
