Winter Camping Tricks
/David and I just got back from our first camping trip of the season. We like to get out a few times before our main season with guests to re-remember our systems and tricks so life on the trail is as smooth as possible. In the interest of not forgetting over the lazy summer months, here are few tips and tricks that we'd rather not live without. They are somewhat specific to the way that we camp (wall tents, woodstoves, dogs) but some of the principles can be applied more broadly. We hope this is helpful!
#1: The stainless steel bucket

It might seem crazy, but I refuse to camp without one. When winter camping with 9 thirsty dogs (or, occasionally our equally thirsty ski companions who know who they are) making water is a constant task. Ideally we camp by a stream or lake and can chop for water or ice, but often we have to melt snow. This task is made infinitely better by the bucket. In former, darker times, we used large stainless steel pots with two handles. I can feel the exact ache in my lower back from carrying that stupid thing up from a lake, slipping and sloshing precious water all the way. The bucket has a sensible handle so you can hold it in one hand. It is tall and tapered so you can fit pots on your woodstove surface. A good addition is a lid (most random lids seem to fit) and a spare stuff sack to use to collect snow and bring it to the bucket. We also like to stockpile ice chunks or, in the windblown arctic, carved snow chunks outside the tent for easy access. It gets better, due to some miracle of modern production these buckets cost $12 at Sportsman's Warehouse. We're going to buy a lifetime supply before they realize what a deal that is.
#2: A bomber woodstove setup:
Lots to say here.
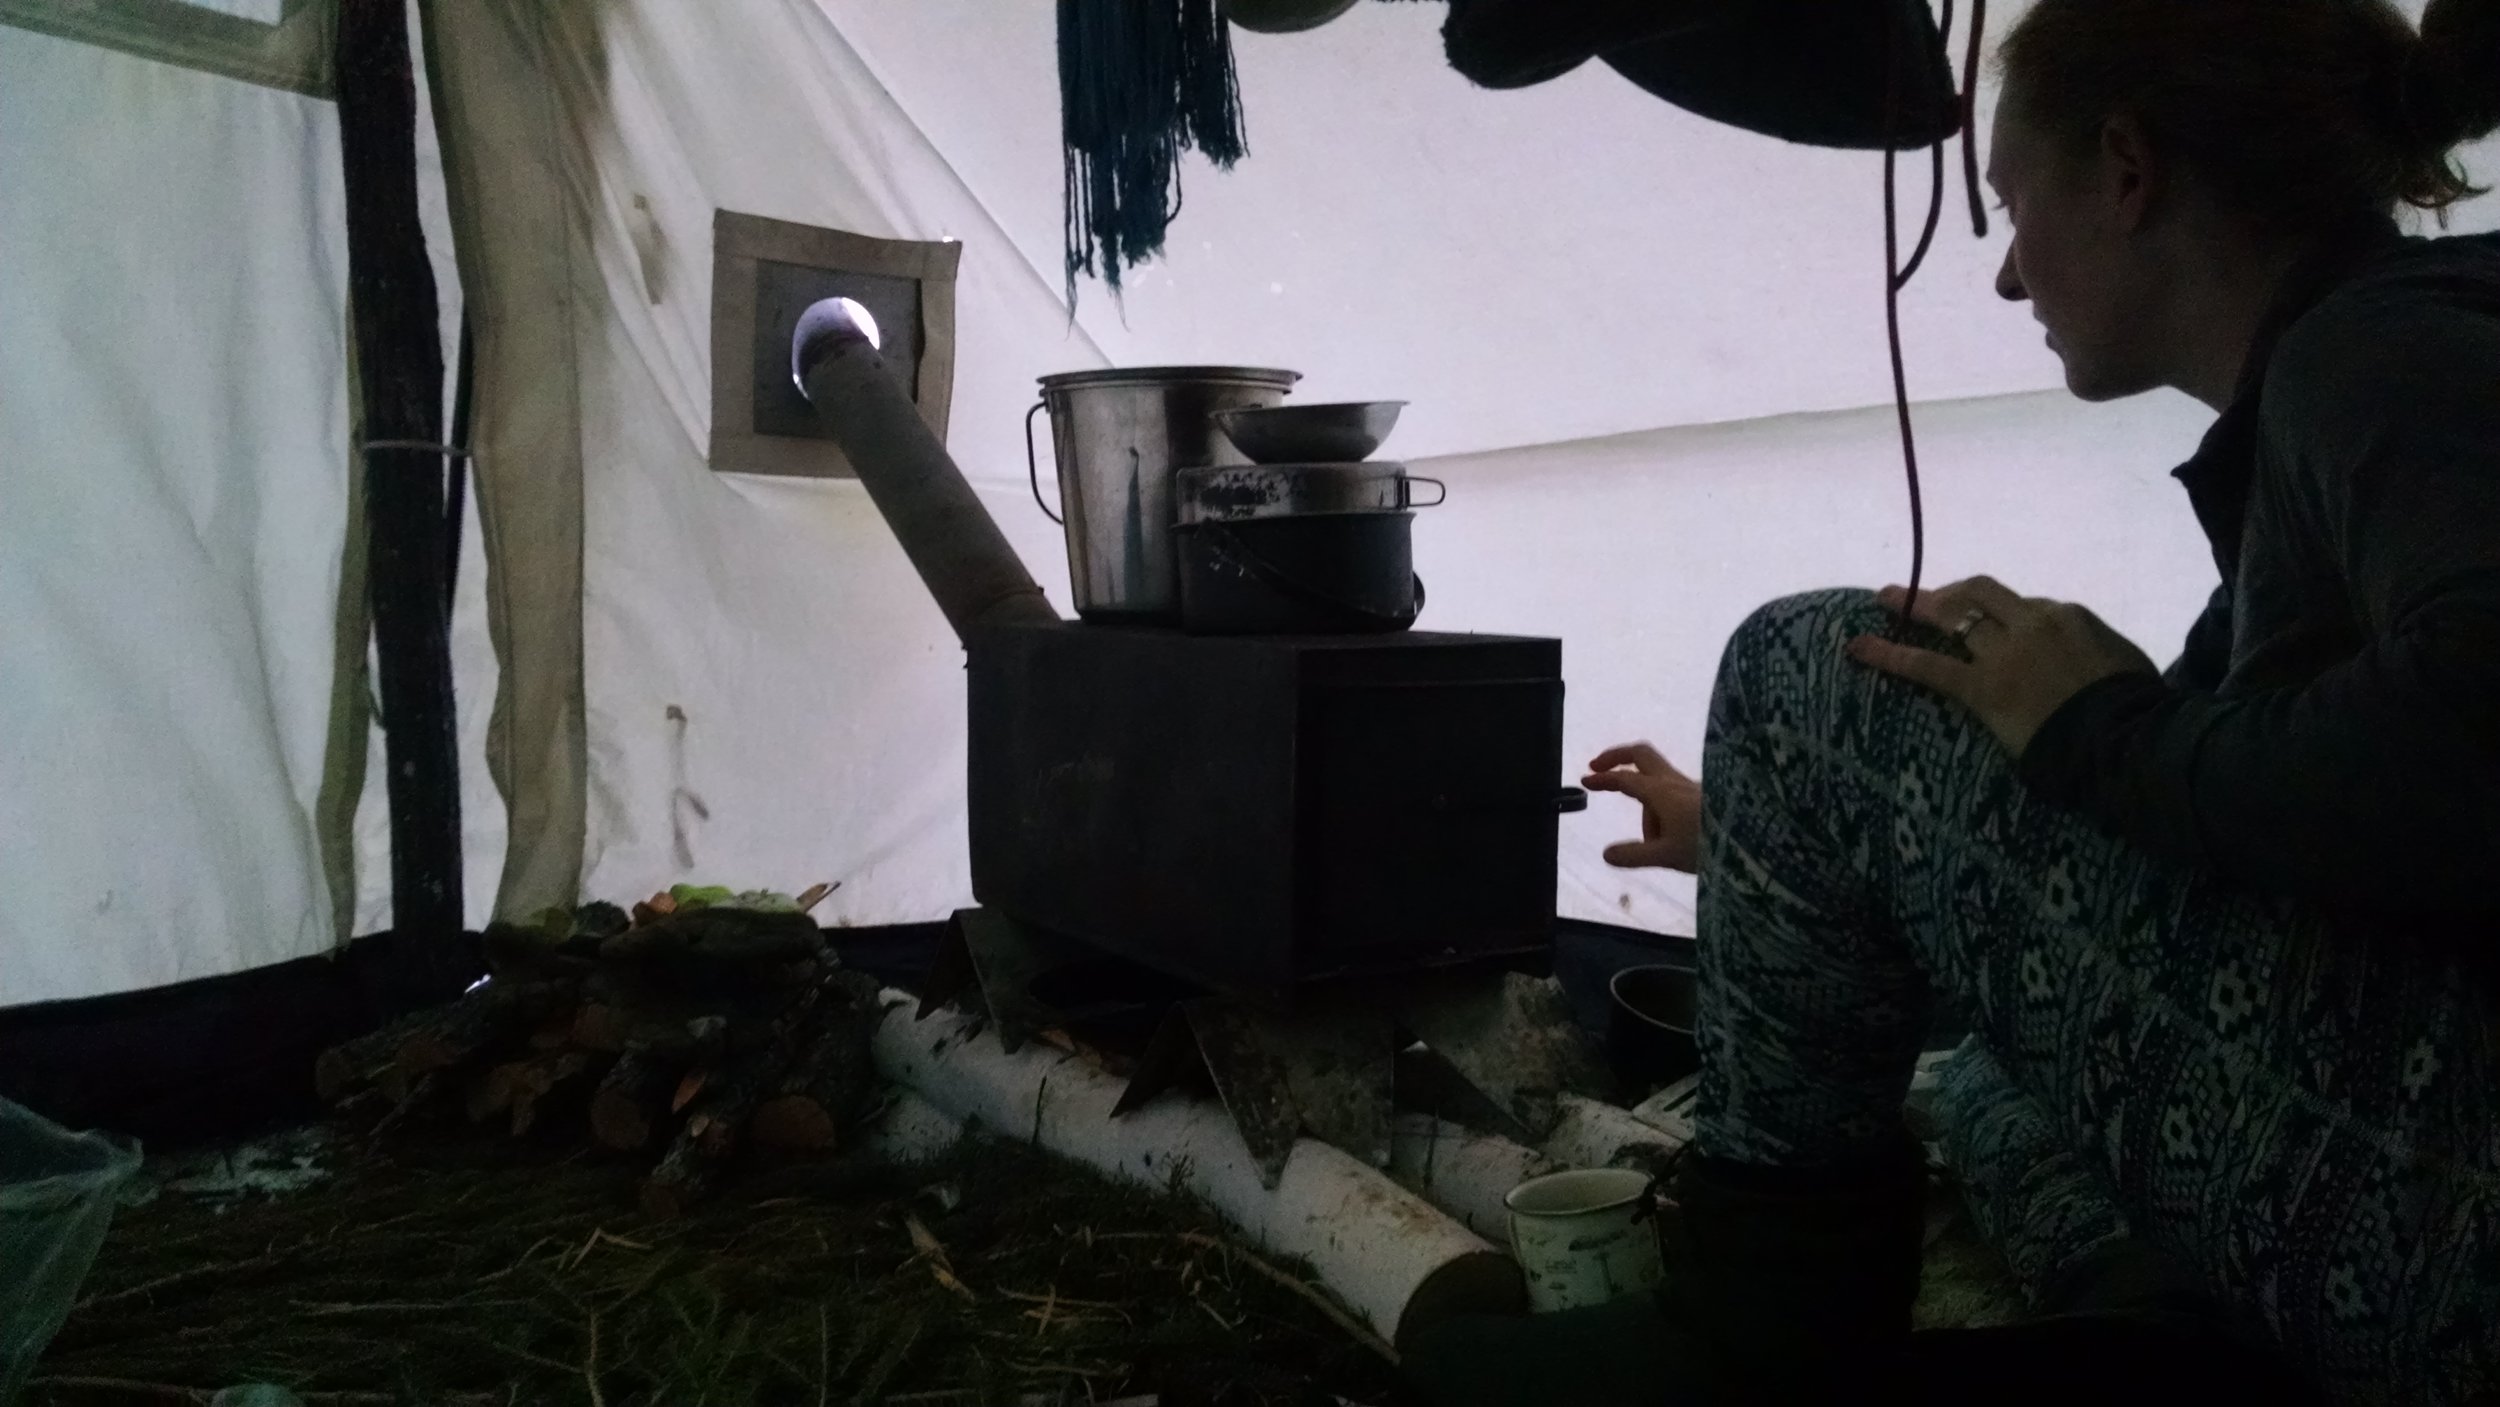
1. We like to make our woodstoves LONG ENOUGH (around 2 feet) to put the stovepipe sections, legs, and elbows INSIDE the stove. This makes traveling much more compact, cleaner (less soot on everything) and safer (no squished pipe). Longer stoves also give you more heat, you have to do less work cutting your wood to fit, and mean you can cook in more pots for faster meals and endless hot water. There are only 2 pots shown in this photo (1 bucket, 1 pot) but I can fit up to 5.
2. The triple log base for the legs- we cut green wood (birch in this picture) to put under the woodstove. We use to do just two logs but if you do 3 you get MUCH less melting below the stove and things are stable and safe for days longer. I also store my skillet under the stove to keep it out of the way and reflect some of that heat.
3. Wire together to connect your stovepipe sections so they cannot separate on you. It is a really nice peace of mind thing.
4. Big stovepipe is better. We use 4 inch pipe with most of our stoves. 3-inch periscope pipe (where it gets smaller and fits inside itself) doesn't draft well and soot builds up.
#3: Bright colored parachute cord to tie down your tent (and everything else)

Why bright colored? Because at some point on your journey, you or someone in your party will undoubtedly emerge from the tent early in the morning with a full pot of precious water, on your way to feed the dogs and ka-blam! You will trip over your own tent cord. For this reason we use orange or red for every line except the one by the door, we use an arctic grade bungee there (it prolongs the life of the zipper). Parachute cord is worth its weight in gold on the trail. It can be used for a number of things: tying up sleeping pads, replacing dog lines, making a spare belt, hanging things away from dogs, tying up and caching meat, the possibilities are endless. We bring a LOT of extra and always seem to use it. Jenna always has some in her anorak pocket, right there with a fire kit.
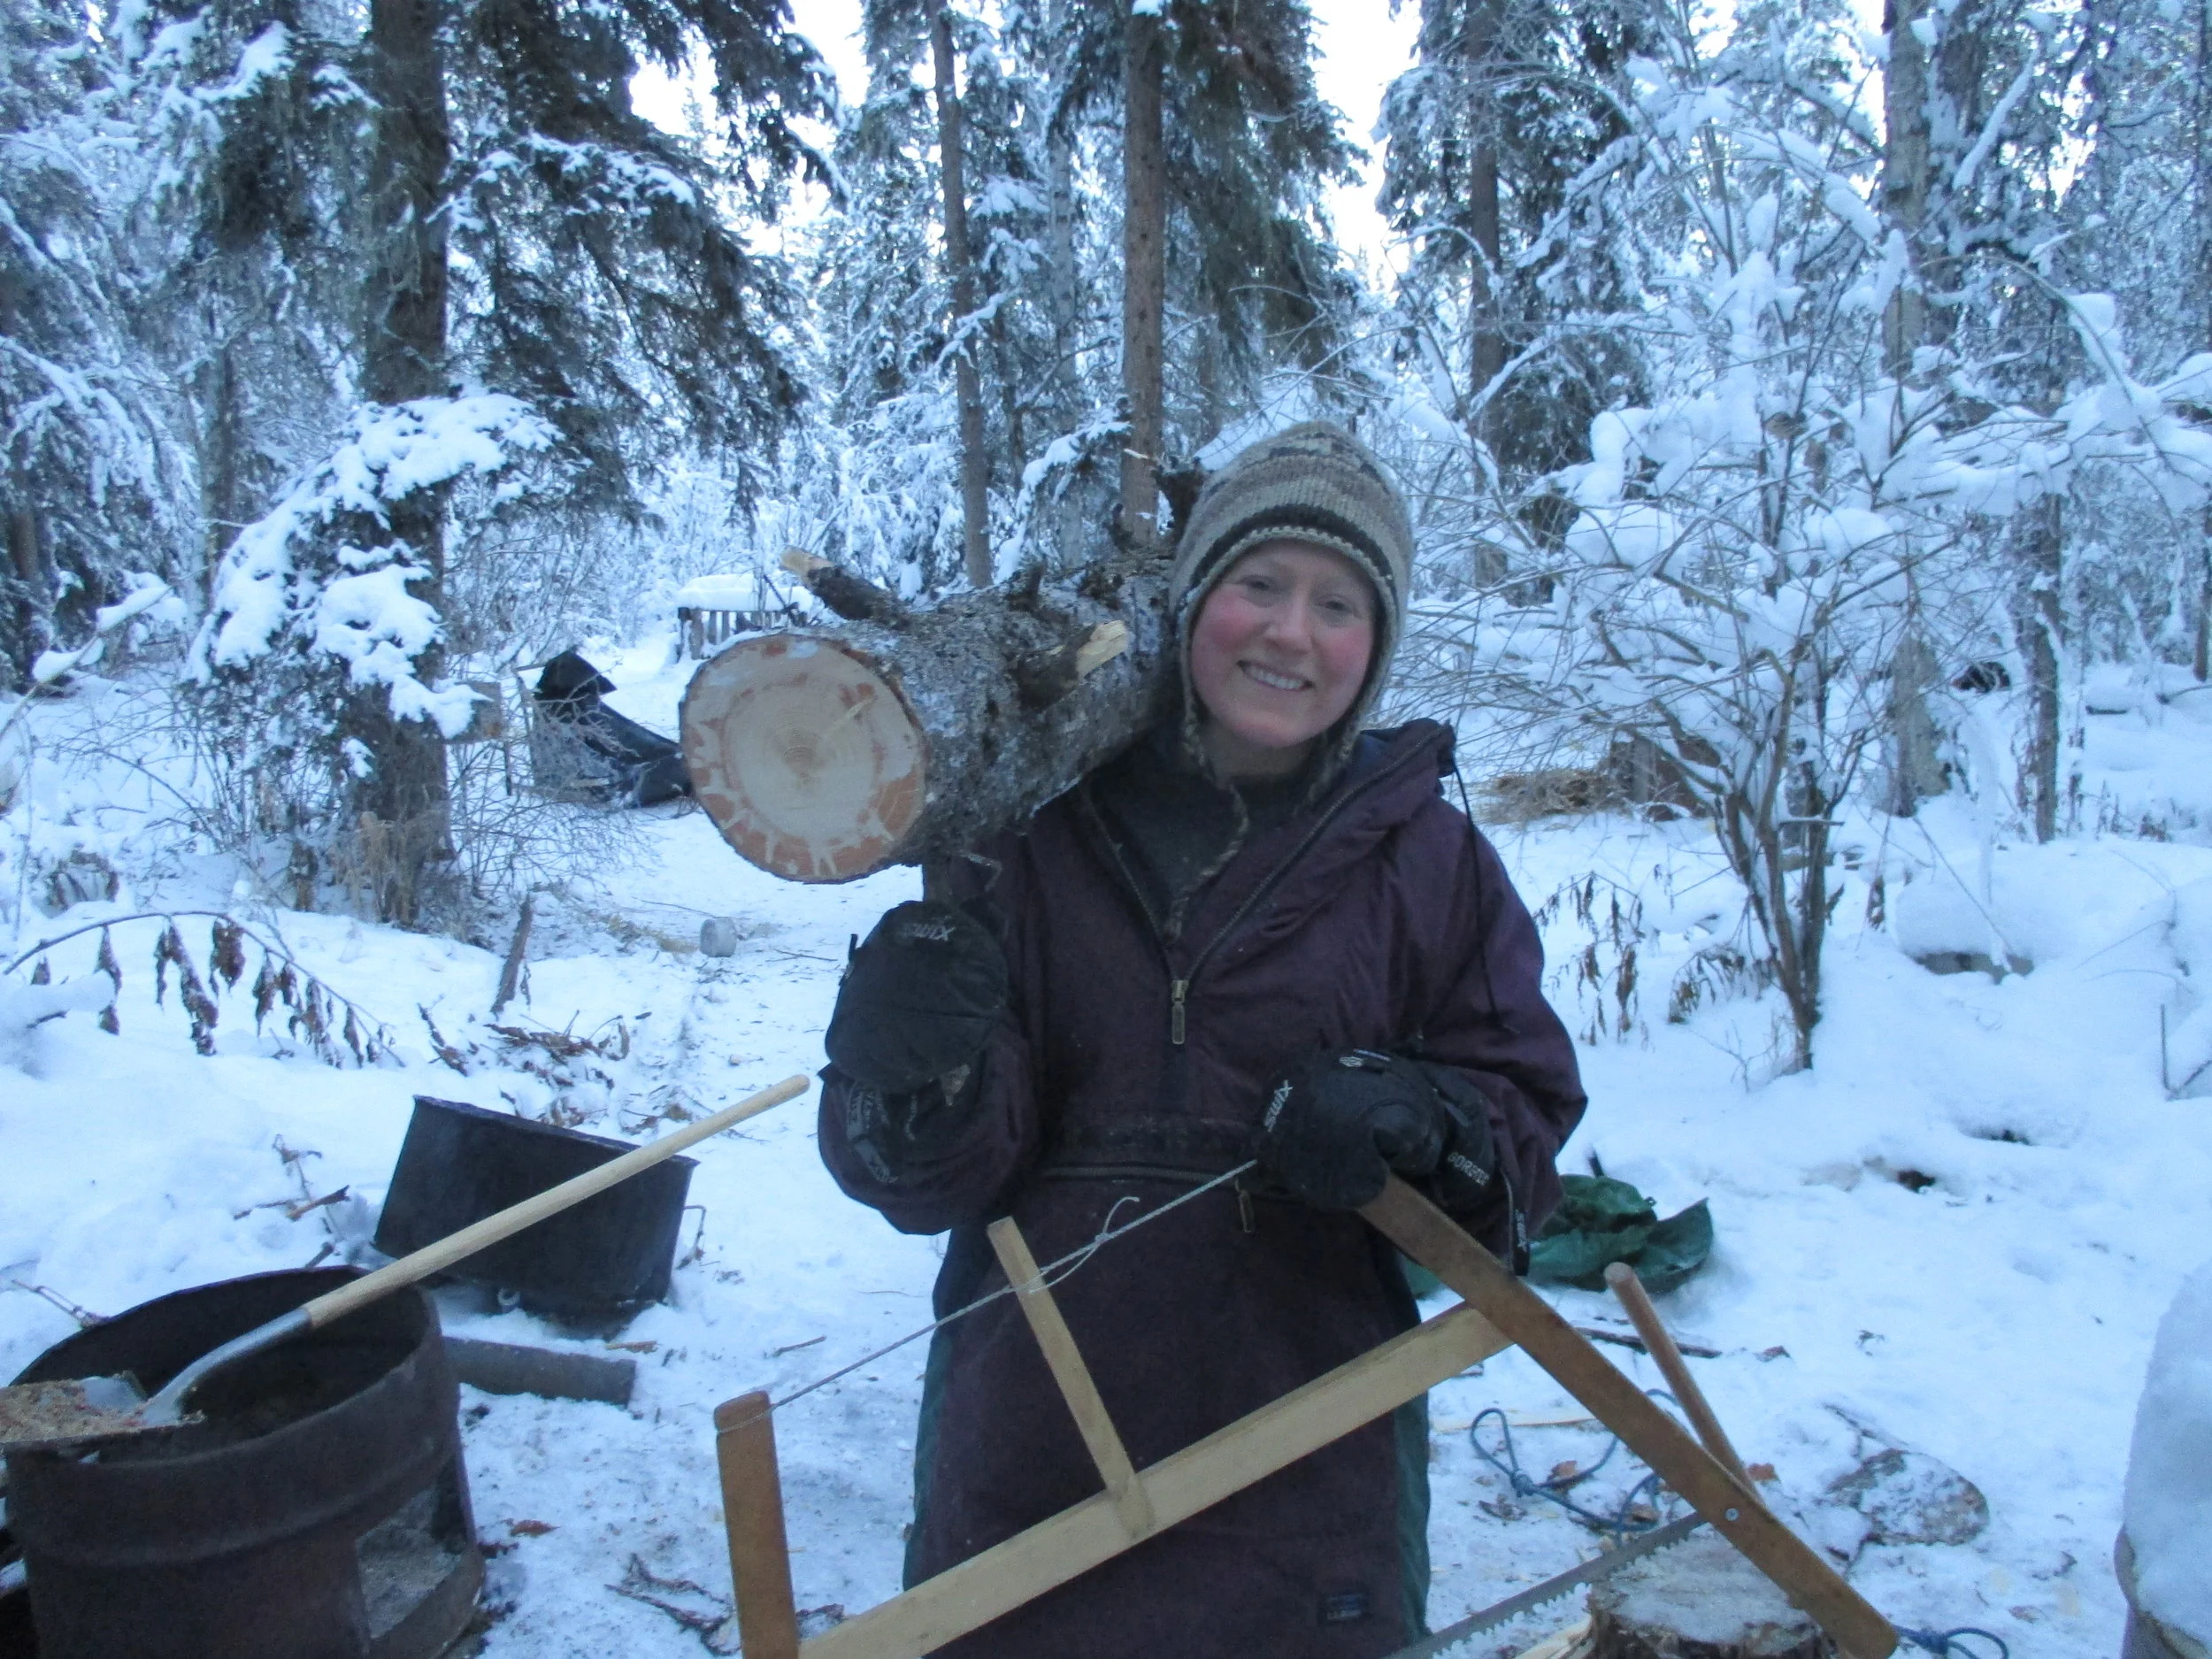
#4: A thermos and instant soup for lunch

The smile in this picture is fake but as soon as he sips that lunch soup it will be real. We carry a gigantic Thermax thermos, the bigger the better, full of boiling water. At lunchtime, we produce the thermos, metal cups (not insulated, metal warm your hands up), spoons and soup. We get various instant dehydrated veggie soups in bulk and also bring miso and ramen (sigh, ramen really is the only instant noodle soup we can find). Into the soup goes a variety of pre-cut sausage, cheese, dried tomatoes etc. David likes re hydrating dried fruit in hot water too. Lunch soup is the melting pot of our trips, it has saved the day many times. We usually have enough water in the thermos to have tea when we get everything settled in camp, and that is a really nice thing. The only rule is: DON'T PUT COFFEE IN THE THERMOS! Use smaller sacrificial ones for that.
#5: A washcloth

That's right, a washcloth. As much as we try to not sweat winter camping, you end up getting gritty. Having a warm pot of water and a washcloth to sponge bathe with at the end of a long day makes all the difference.