Cabin #4: Foundation
/There are a lot of clichés about "a good foundation." After building our current home on rocks (99 of them to be exact, lovingly lugged up the bluff 2 at a time by Jenna), we realized that if we wanted to build a cabin that would last, the foundation was going to be a beast of a project. We wanted to do a root cellar under the cabin, so in order to not freeze the cellar, the cabin had to be built on the ground rather a floating foundation. We wanted to keep the logs off of the soil but have the heated space start at ground level so we have the warmth of the ground (rather than -40 degree air) under the cabin. In theory, this will save us on cost and materials in floor insulation and the warmth of the cabin will keep the root cellar from freezing. There are a lot of sentences in that paragraph that begin with “we want.” This may be why this became such a headache.
But back to the project- the first thing we did was to install the root cellar walls. We built these the previous fall out of pressure-treated plywood.
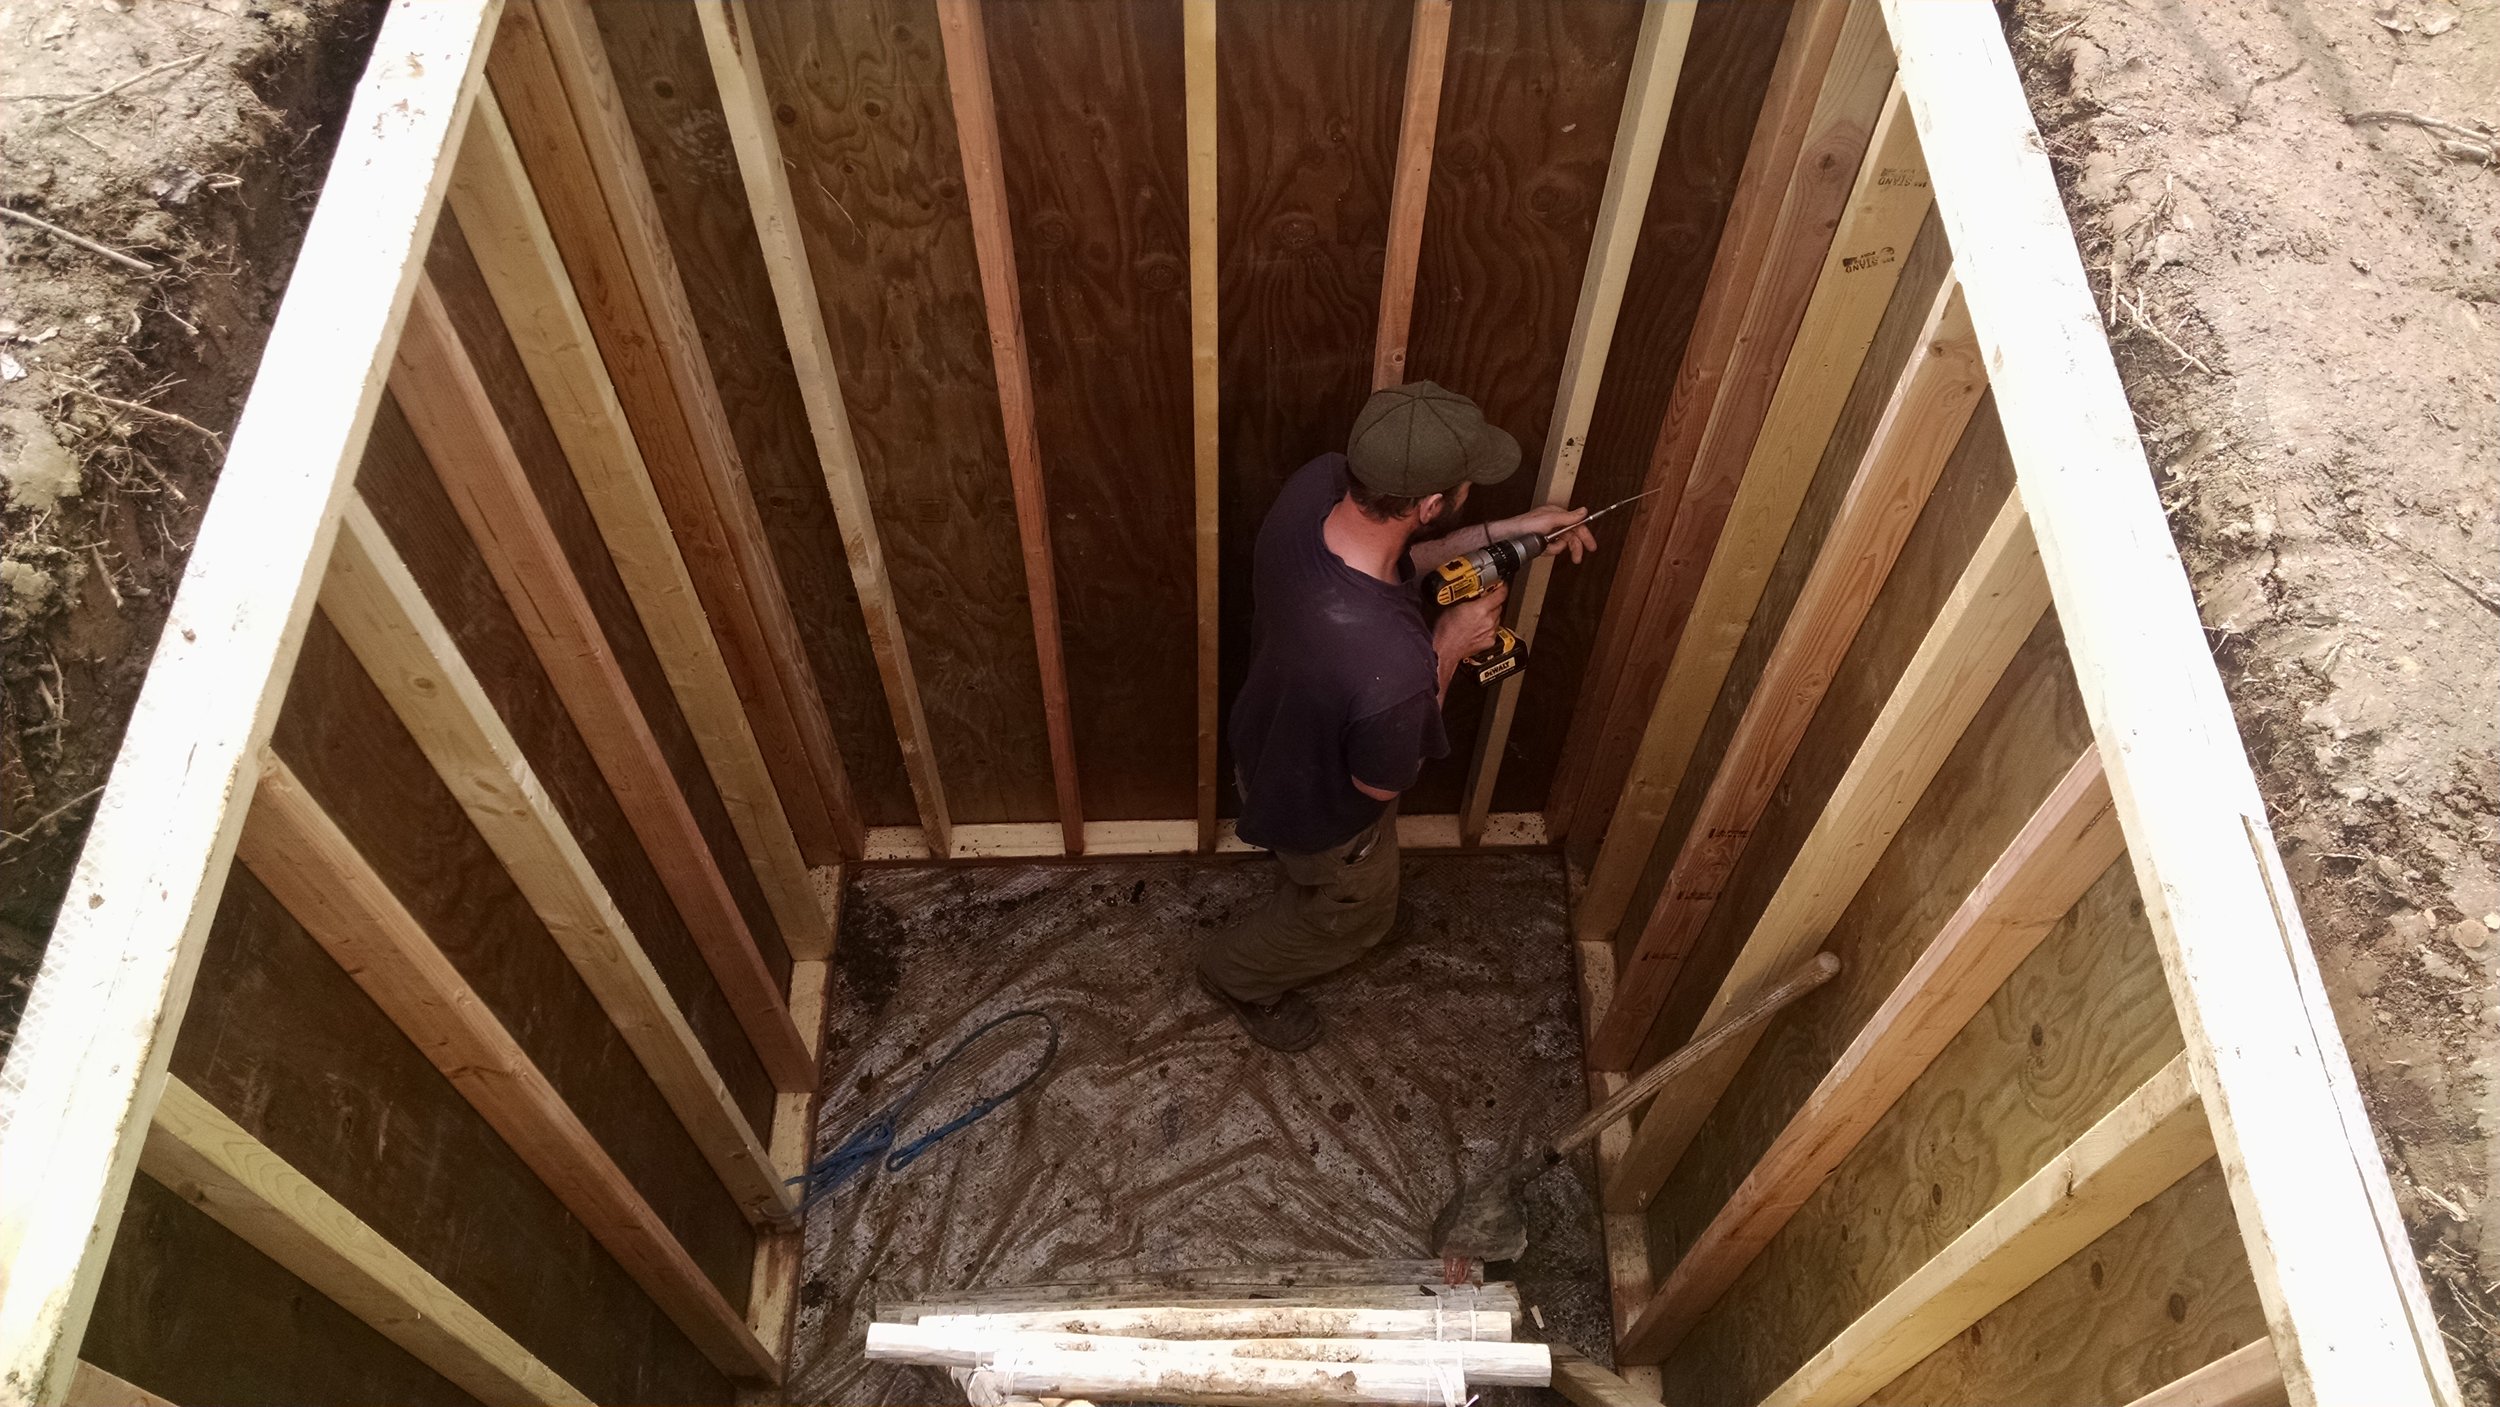
David screwing the walls into the root cellar. We used pressure treated plywood to line the root cellar and assembled this in 4 pieces, it was heavy.
So root cellar, check. Once the root cellar was secured, we built a form to pour the concrete into. David built this creation and the puppy spent a lot of time sleeping in it.

Puppy Bruce Lee (6 months in this picture) sleeping in the founcation form.
We debated concrete mix vs. local gravel and Portland cement. We could buy concrete mix in town that comes from the Tanana River and snowmachine it out. David did many a load this way on the last legs of snow and got help from our friend Glenn as well, but with every re-calculation we seemed to need MORE concrete and inevitably, it was spring. The nice thing about spring is that the water level post-breakup is generally very low, exposing all sorts of gravel. We decided to get the rest of the gravel from the river and buy bags of Portland cement in town and boat them out. This process quickly became quite the workout plan. Here is how it went:
Step 1: Boat to the island right across from our place, we call this Gull island because glaucous gulls nest here and it is gravel and sand rich. Find a nice gravely spot.
Step 2: Shovel gravel through screen to sort out rocks that are too big.
Step 3: Shovel the pile of sifted gravel into buckets, move the buckets into the boat.

Step 4: Boat back to the base of our bluff, move the buckets into the 3-wheel cart, run up the bluff and run the winch.
Step 5: Unload the winch and empty gravel into bin. I don’t want to count, but this process involved lifting a bucket of gravel may a time.
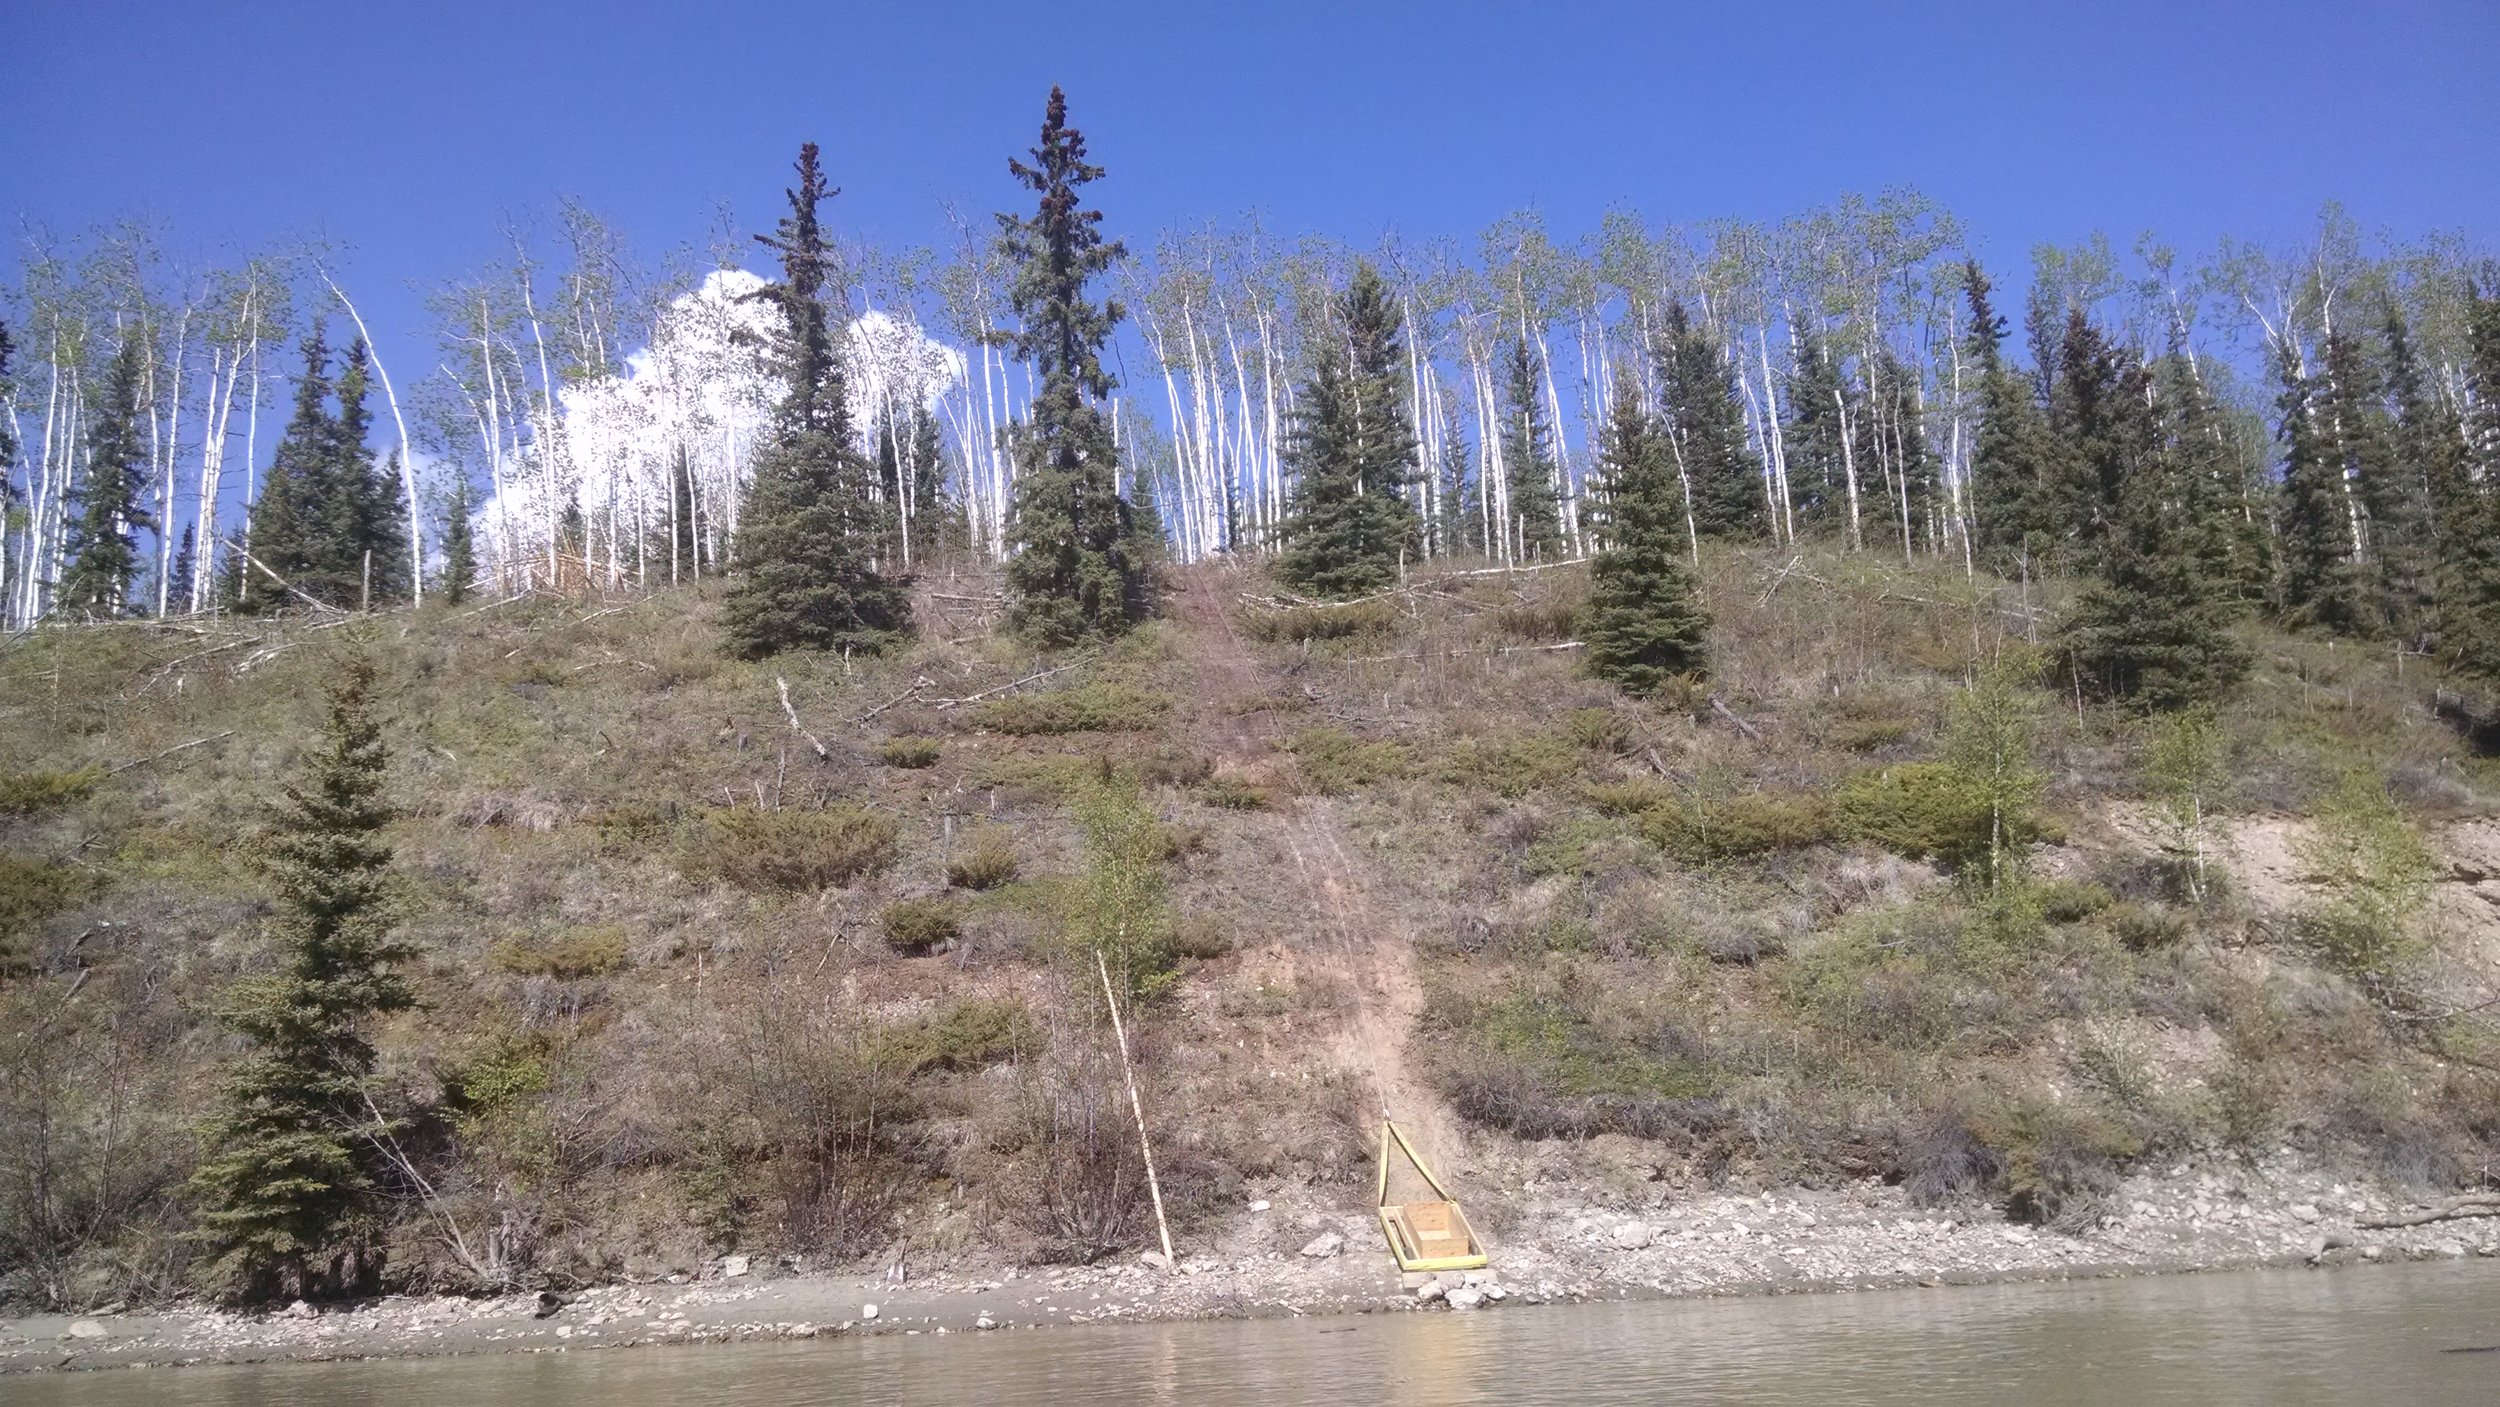
The bluff that we're building on. You can see the track where we've been pulling and the cart on the bottom. It actually is steeper than it looks in this picture.
So gravel, CHECK!

David and puppy Bruce Lee relax in the gravel bin.
Enter our friend Heike, who came out to help us for the weekend. On the canoe down, Jenna discovered two new facts about her friend: she was formerly a structural engineer and worked at a concrete plant! Friends are handy. She took a look at our plans and made some really helpful suggestions. Now we needed MORE concrete to make additional 3’ x 3’ corner pads/footings. And we needed to dig holes to make forms for the pads. Like I said, foundation = a lot of work. The main thing that she helped us with was calculating the weight-bearing capacity of the ground that we were about to build on. Silt, it turns out, is not as solid as we thought (“like Jello” was Heike’s phrase). We found come calculations that silt can support +/-2,000lbs/ft2. We figure that the two-story log cabin will weigh something like 40,000-60,000 lbs with (hopefully) 75%-100% of that weight resting on the corners. With the additional corner pads the foundation now has 9-12 ft2 of surface area in each corner, which should support 18-24,000 lbs… plenty.
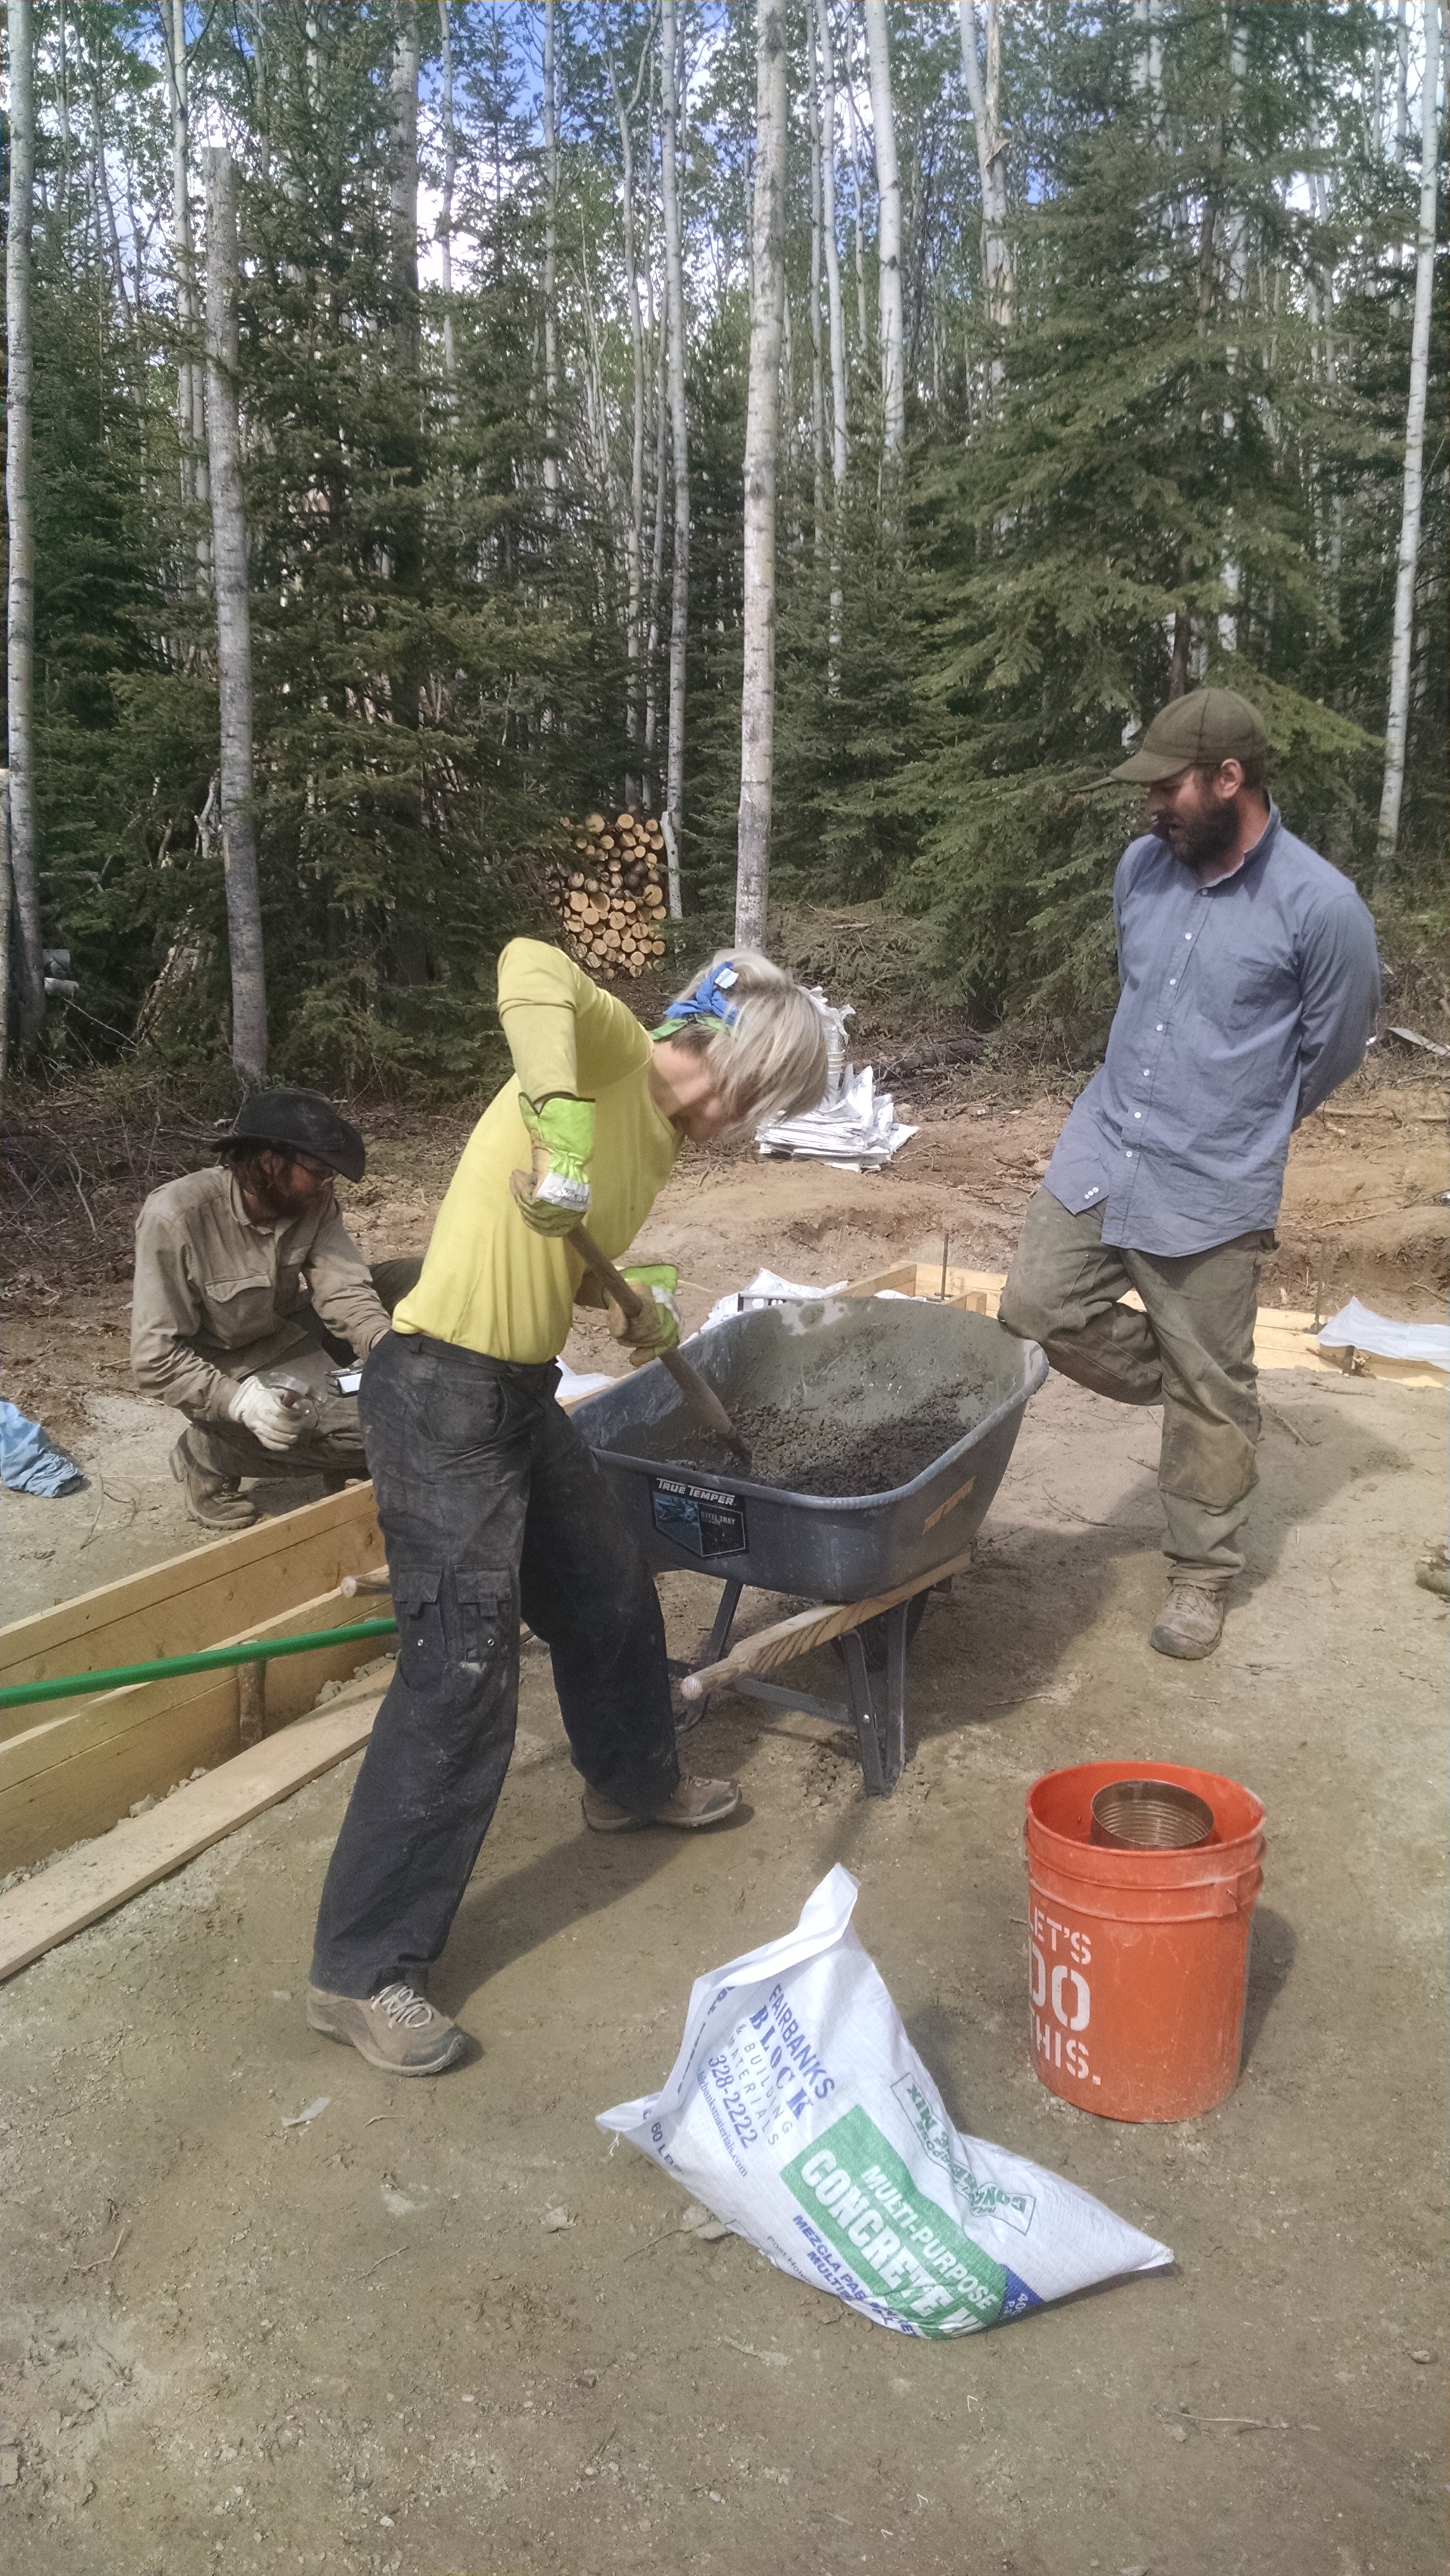
We worked together to pour the corner pads. Each took about 16 bags of concrete mix. We mixed them 2 at a time in a wheelbarrow.

So pads, check.
Then we called in the big guns (friend help) and got 4 people (thank you thank you thank you Heike, Jeff, Heather and Mike) to come out for the big pour of the rest of the foundation. With all that arm muscle, we did it in a day.
The process was pretty easy.
Step 1: Suspend rebar in the form.
Step 2: Mix gravel, portland cement, and water in wheelbarrow to desired consistency (just like baking).

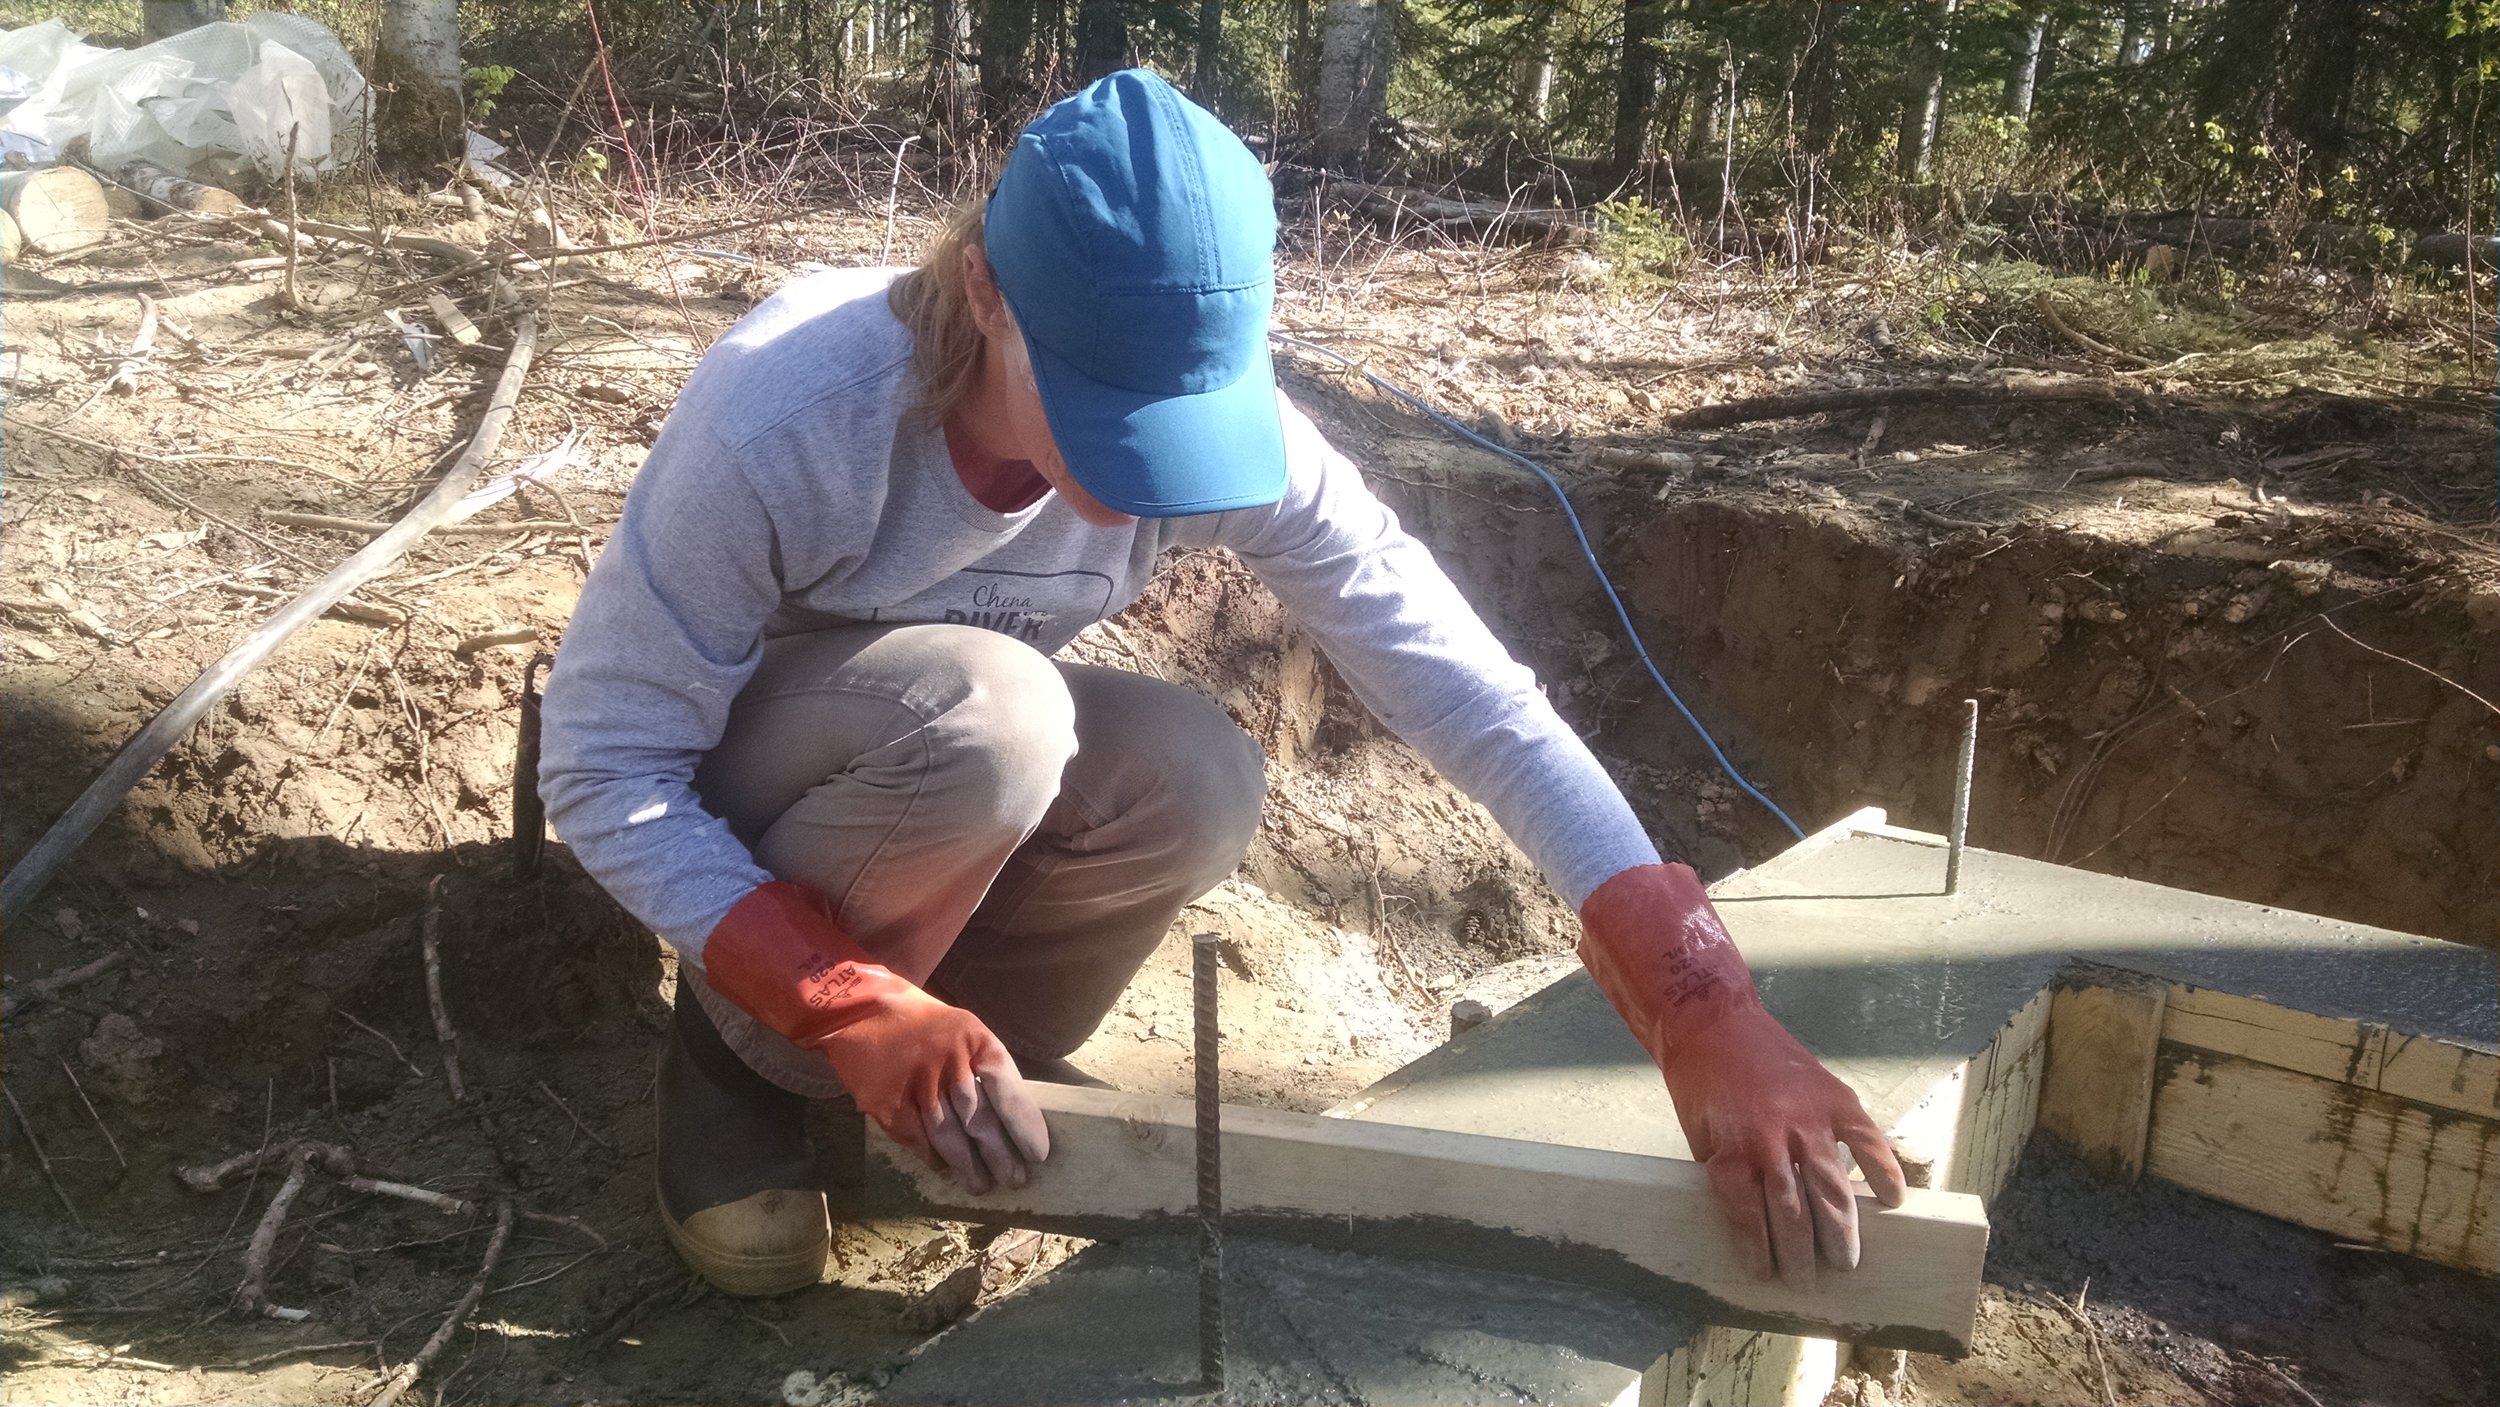
Hanging the rebar in the form.

Heather working her abs while David practices...?

David and Jeff mix loads of concrete in wheelbarrow.
Step 4: Get the most attention-to-detail person in your crew to tap, vibrate, and smooth the concrete in the form. Cover with plastic.
Heike smoothing the top and "vibrating" it even.
Step 5: Drink! After a long day of mixing and pouring concrete, we celebrated with scotch and hot tubbing to celebrate "a good foundation".
