Cabin # 9: Root Cellar, Hearth, and Floor
/The first cabin we built we used a dirt and spruce bough floor for 3 years before putting in a floor. This cabin would be waaay too many spruce boughs, so we decided to put the work in right away. The first obstacle was the most formidable: finishing the root cellar.
Root Cellar 1: The Big Dig II
Digging the cellar was among the first things we did in the building process but we made a big mistake the first winter and didn’t adequately cover the hole over the winter. When spring thaw happened, the cellar got water in it, and one of the walls froze and thawed and moved. Not good. We decided that the treated plywood walls that we had made were not strong enough, so we removed them. This was a good thing because we discovered that the dirt walls had collapsed more than we thought. In order to have even, stable walls we had to remove a considerable amount of dirt, only now we had to take it out through the cabin. Thus began the second episode of the “big dig”. The original dimensions of the cellar were 6’ x 6’ x 8’ deep By the end of the big dig it was more like 8’ x 8’ x 7’ deep. Not many photos were taken during this period because it was super stressful and we didn’t dare get near the edge of the hole! Also, morale was low. Nothing like moving the same dirt four times.
Root Cellar 2: Concrete and Wood
We were able to recycle pretty much all of the original pressure treated frame once we got it out. We then decided to bring in the big guns and pour concrete walls for as far up as our gravel supply allowed. We built a sturdy (look at the braces!) form and stretched our arm muscles for another concrete party. During the summer David decided that this was going to happen, so we gathered another 100+ bags of gravel from the river, hauled it with the winch and wheel barrow, and brought in portland cement by boat. The materials were there and our friends Heather and Mike came out to help with the concrete mixing and pouring.
We used a wheelbarrow, shovel, hoe, and pop music to mix small batches of concrete. We set up a simple pulley to lower buckets of concrete into the cellar where David poured it into the form. The wall ended up being about 3 feet tall. Here is what it looked like:


We made the remaining wall out of pressure treated plywood and reinforced it with two layer of shelving with 2 x 12 boards. Jenna immediately seized on the opportunity to fill the shelving with well-organized canned goods and tools. We have never really had a space that wouldn’t freeze and this was very exciting, but neither of us has really used a root cellar. David went to town to take a look at the long-functioning Mayo family cellar. He came back with tips and installed an air intake and outtake pipe that we use to alter the temperature. We are trying to keep the temp around 38 degrees (refrigerators are generally 35-40) to prohibit mold growth.
The next summer we poured a concrete floor which was a big improvement: easier to clean, drier overall, and no more mold!

Hearth 1: The Rocks
After all that concrete and digging we needed a fun task. Our friends John, Wesley and Phil came down just in time to make a late-season boat trip downriver to hunt for “the good rocks” for use in our hearth. We found set rocks at a highly secret location along the river and collected flat, fairly regular angled ones along the shore. To test their strength, Phil dropped them on other rocks. It really was quite fun.

We boated back upriver in the middle of a snowstorm with Phil on the roof manually running the windshield wipers, Wesley tending the woodstove, and David and Jenna arguing over where the best channel was. we made it back just fine, mostly because John was driving.

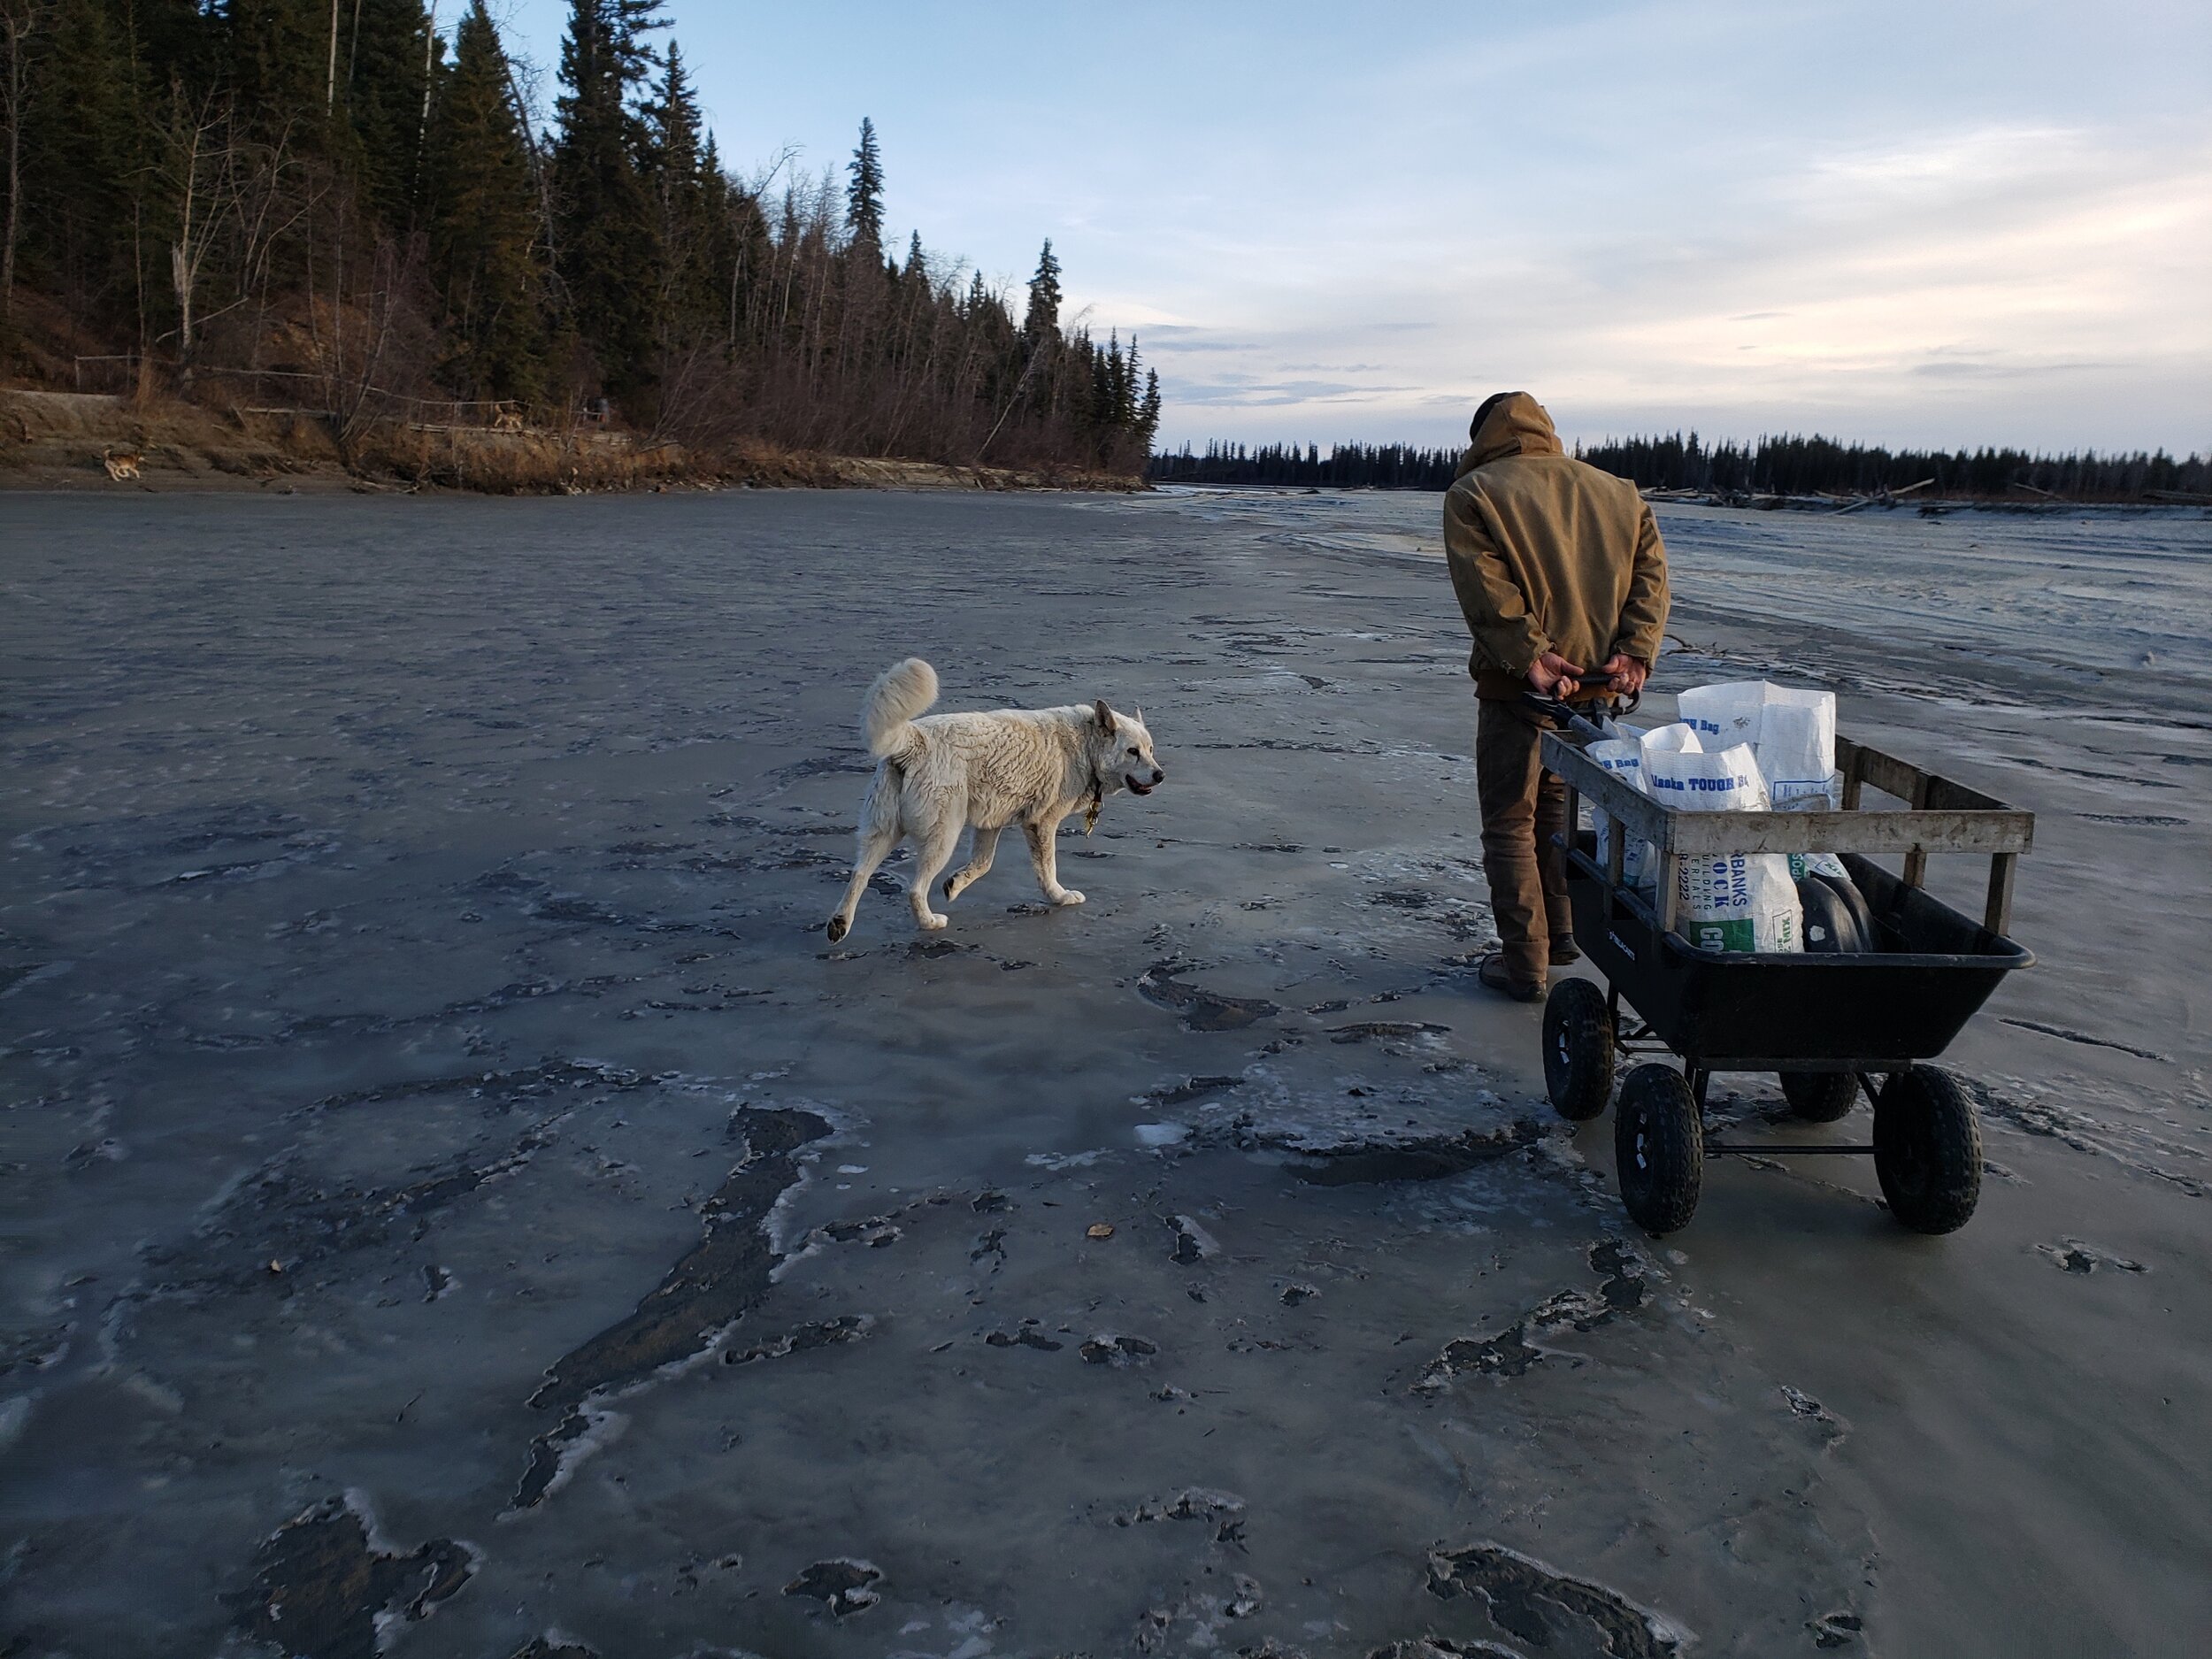
Step 2: Silt
While walking the dogs on the island across from our fish camp we found some really nice, soft silt. David’s eyes grew wide and soon we were hauling it back up to the cabin site, along the frozen river to mix with cement and water to make a filler for the hearth.
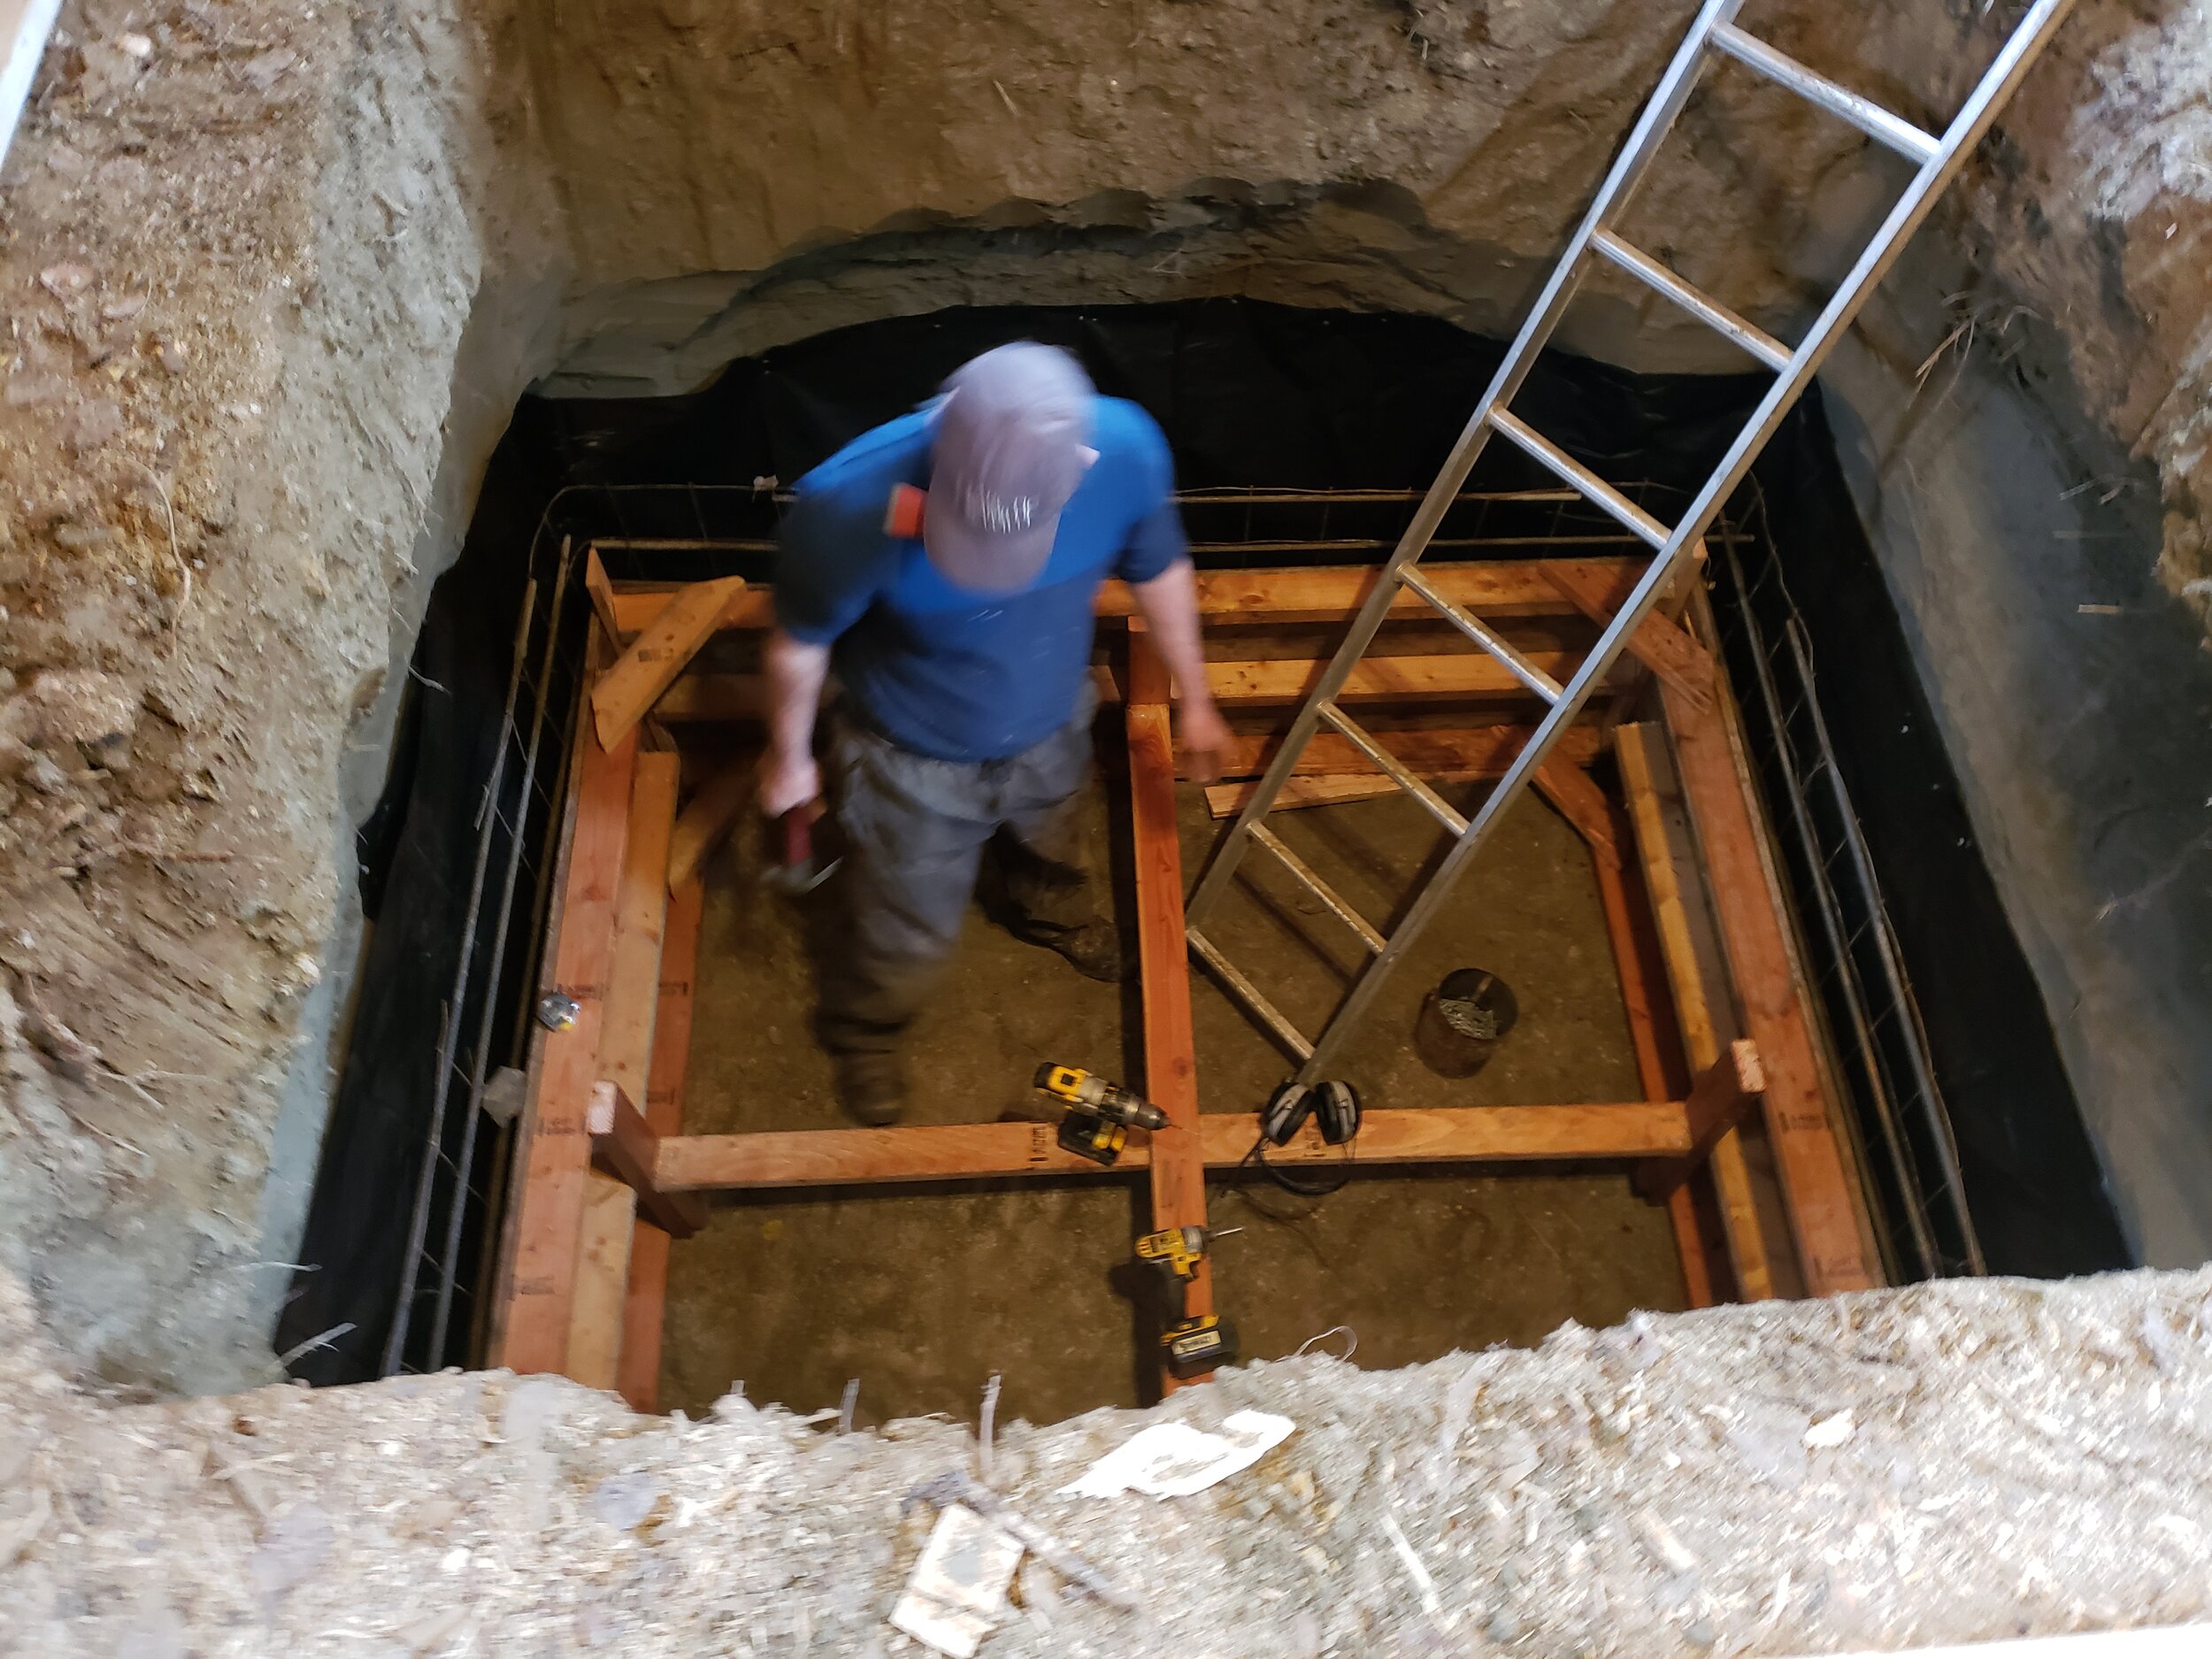
Root Cellar 3: Fitting the Stones
By this point it was late September and getting chilly. We had bought and installed stovepipe and were very ready to go. We decided to do a basic placement (not leveled) of the rocks and hold off on sealing it up with cement and get a stove going pronto. Heating the cabin was very exciting and Jenna fought the urge to move in.

Floor 1: Plumbing
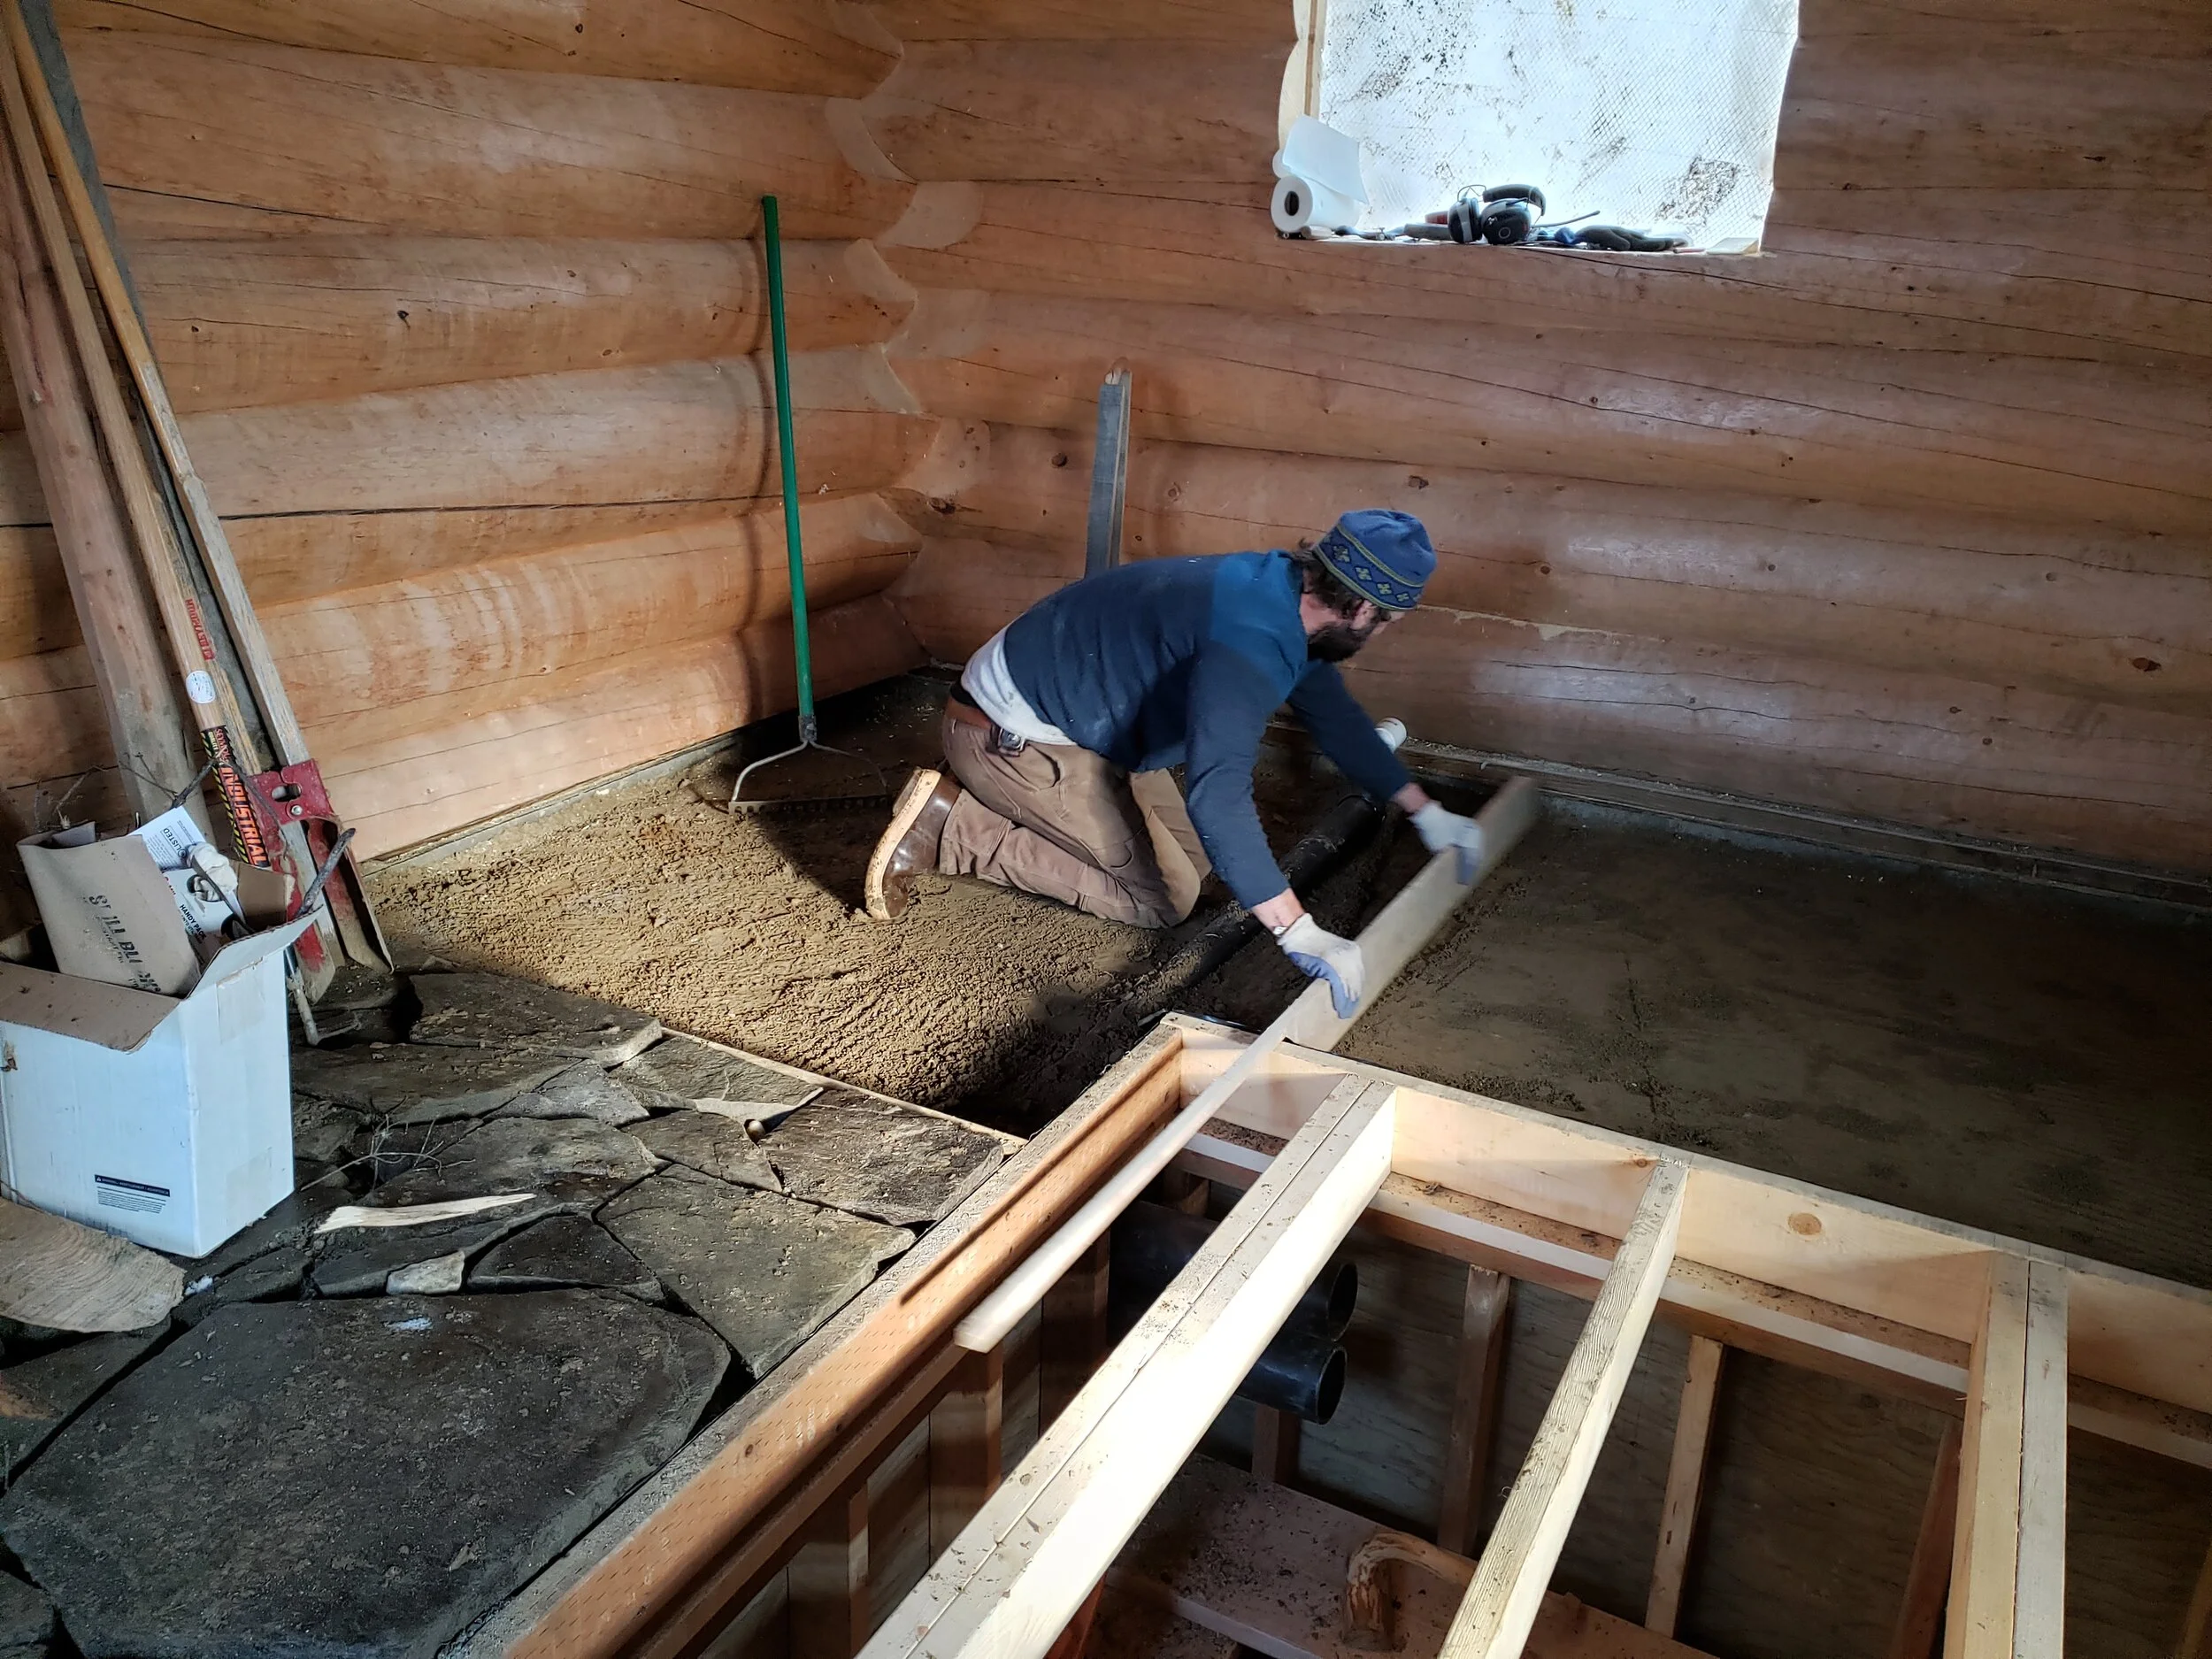
We decided that it would be prudent to install some basic plumbing pipes before putting our floor in. We are dry cabin dwellers and this is the part of the project that we really knew next to nothing about. Luckily we have smart friends who have experience with this. We called Michael Wald and he basically planned out our plumbing: a basic 3-inch outtake pipe from the sink area to the outside (below) with an addition for a potential washing machine. There is also a pipe from the root cellar to the stove for an air intake, 2 pipes from the wall to the root cellar for electrical lines, and copper pipes from the sink area to the second floor for a water tank. The water pipe drops as it exits the building. We will probably use it seasonally in the warmer months and just use a bucket system in the winter, but the pipes are there if we need them.

Floor 2: Leveling
David decided that since our cabin was on the ground anyways it would be warmest to do a “floating” foundation, basically flattening the floor and then adding layers of plastic, foam, and wood rather than a traditional floor on joists. This sounded good, but required every ounce of his impressive supply of perfectionism to make the dirt floor level. He “invented” several tools to help him with the leveling and did the detail work while Jenna wheeled around dirt inefficiently and tamped dirt down once it was leveled. One of the best tools is pictured below, it uses the root cellar joists (on the thin part of the board) and a sharpened edge (near his hands) to gauge the level and move dirt incrementally. This was a pain in the rear.
Floor 3: Layer Cake Round 2
Finally it was time to put down the layers. We started with a vapor barrier, just basic black plastic, taped at the seams.

Next came 2 layers of foam, this was not as easy as we had originally envisioned. We had to account for the pipes (below) and make sure the seams were in different spots on each layer. We cut the foam with kitchen knives and used small wooden wedges to hold it in place along the edges.

Finally came the subfloor. We used tongue and groove OSB because it was cheaper than plywood. We ended up miscalculating slightly and David got to hike in a sheet of this. Not good. When we laid the OSB some areas weren’t perfectly flat, so we shimmed them. We were approaching the “good enough” mentality at this stage.
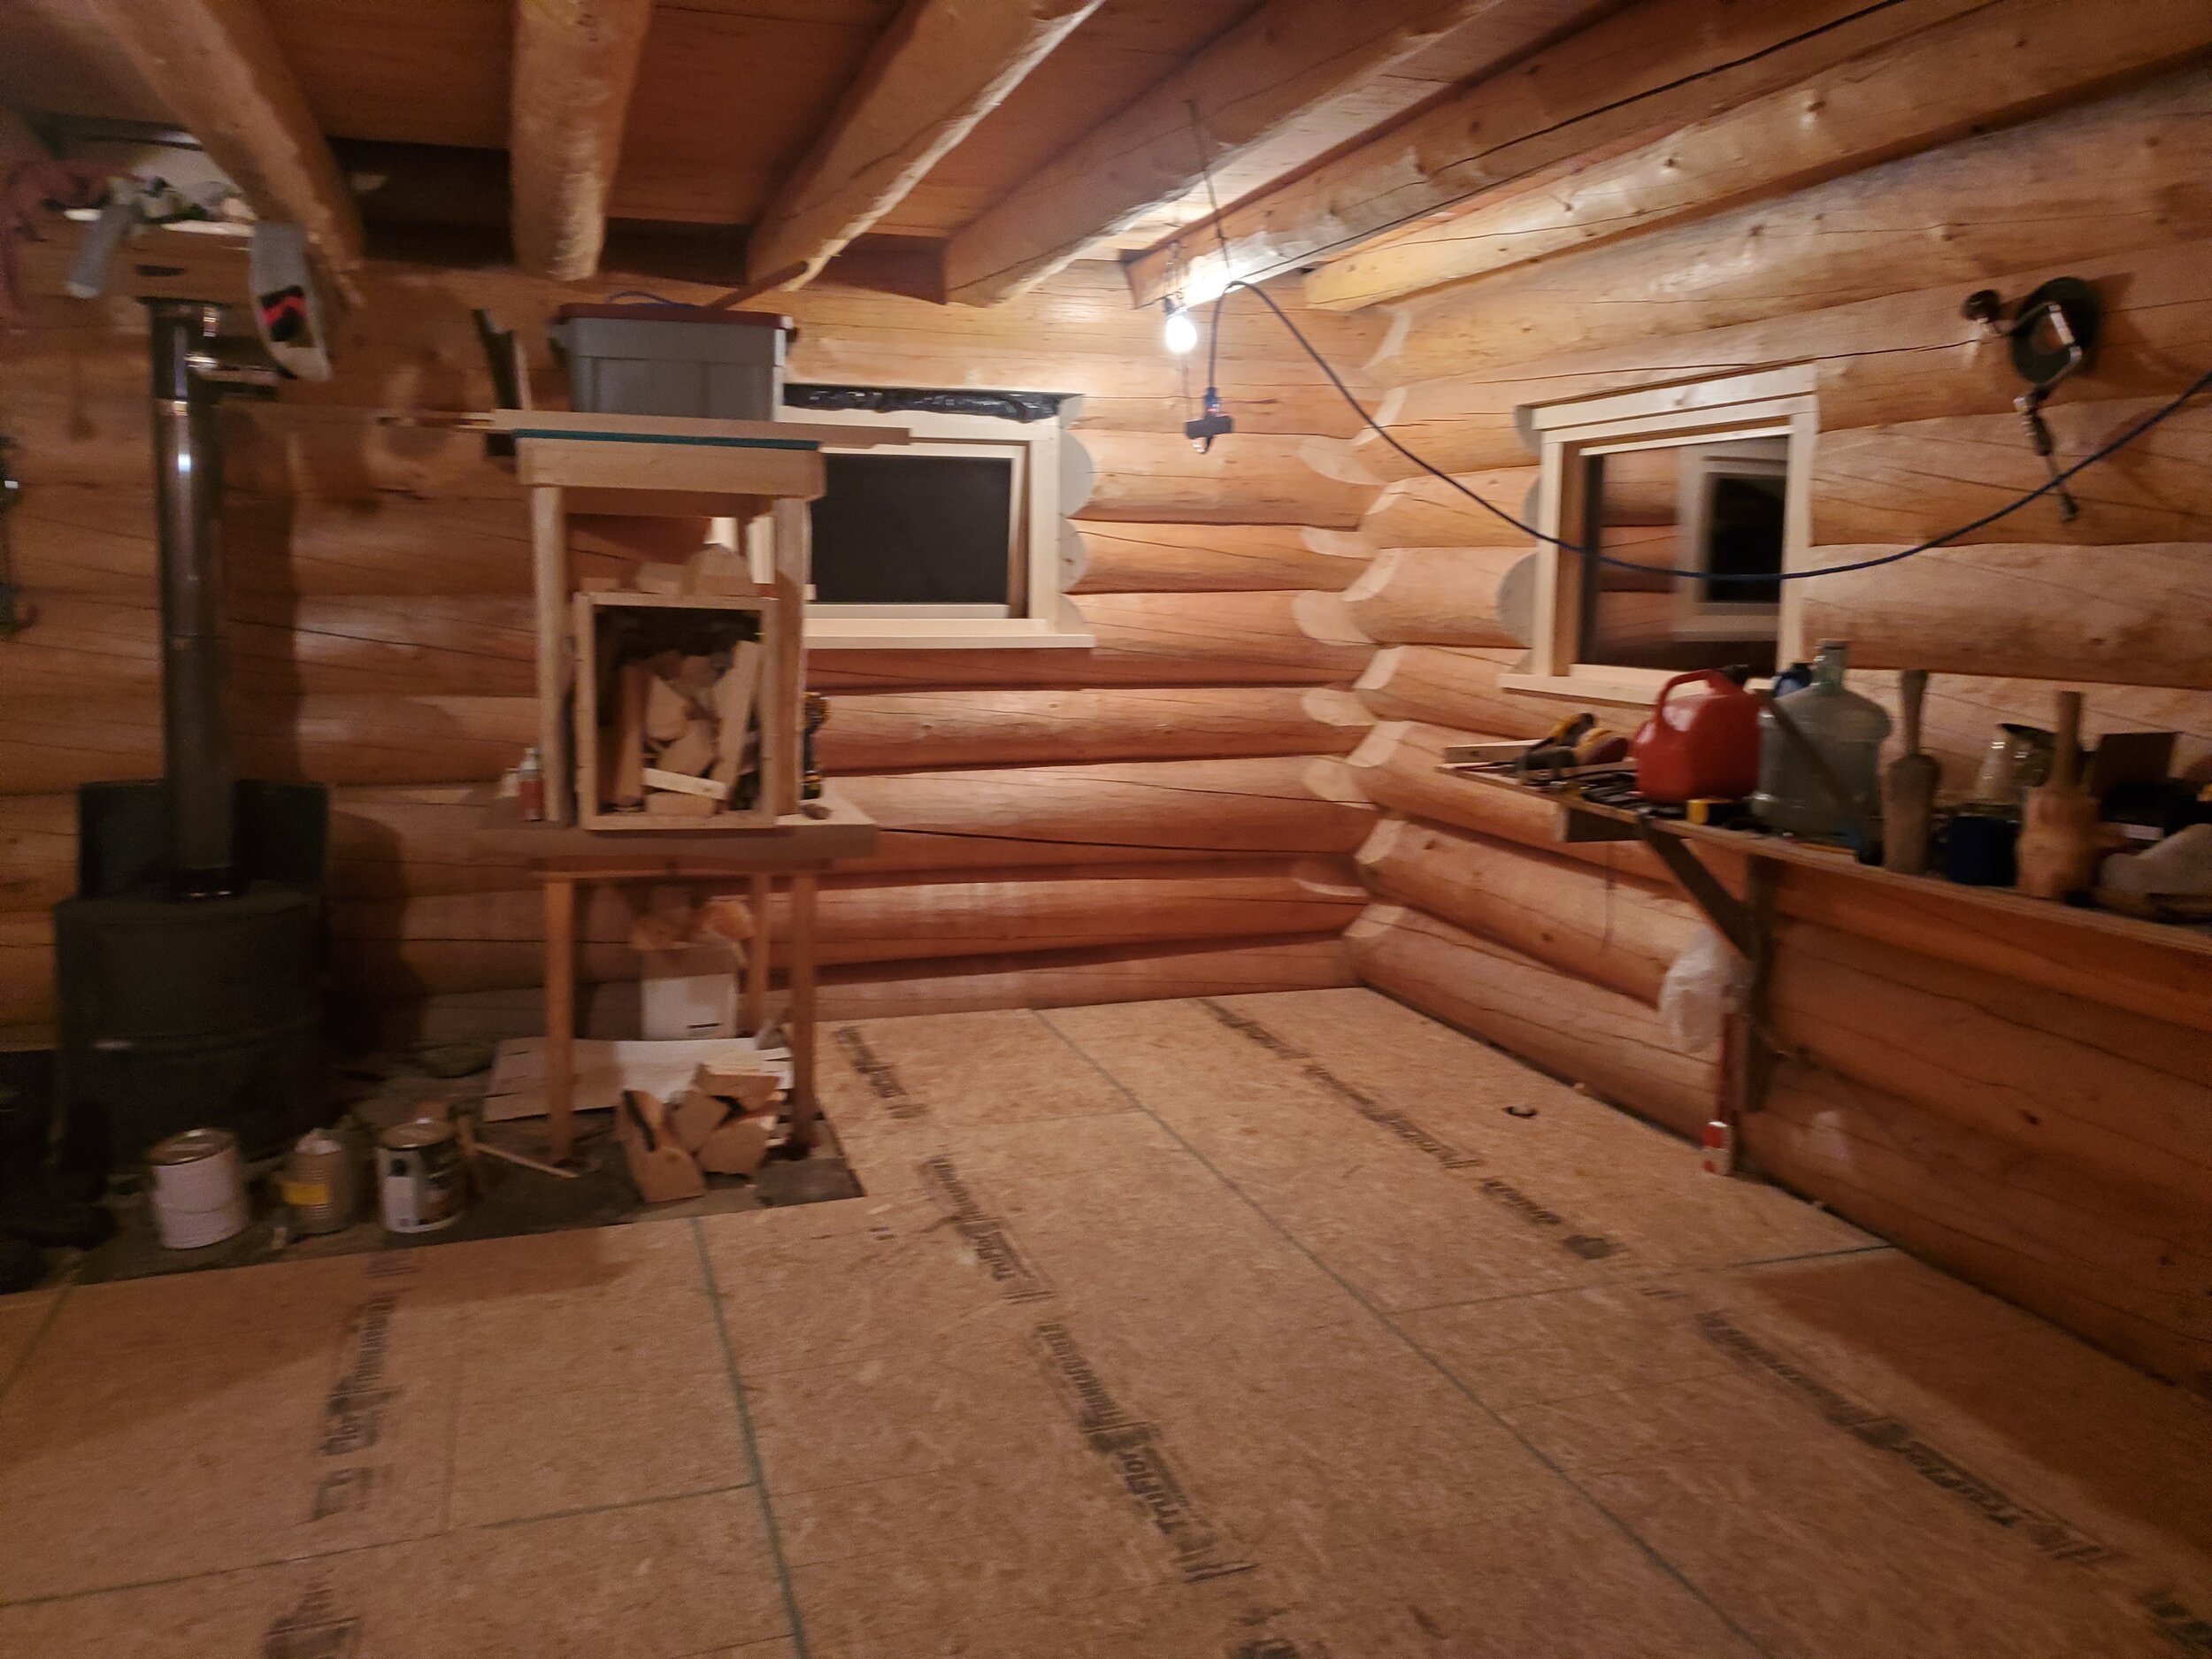
Once the subfloor was in we used the cabin like a workshop for the month of October and much of November. We were able to build window frames and furniture in this big, heated space and it was awesome. Just before we left to visit family in November we did a big sawdust cleaning job and painted the floor with 2 layers of “mixedleaf green” which David picked but ended up looking a bit like astroturf. Good motivation to put the real floor down once the boards dry, and kind of funny for now.

After one week of astroturf, Jenna went to the store and bought a different color floor paint. After 2 years in the cabin the floor is warm but hard to clean and slightly uneven so we’re gearing up to put the actual floor in this summer.