DIY dog house

We've got what we think is a really great design for a dog house and it being the holiday season and all, it seems like a good time to share it!

These dog houses work for us because:

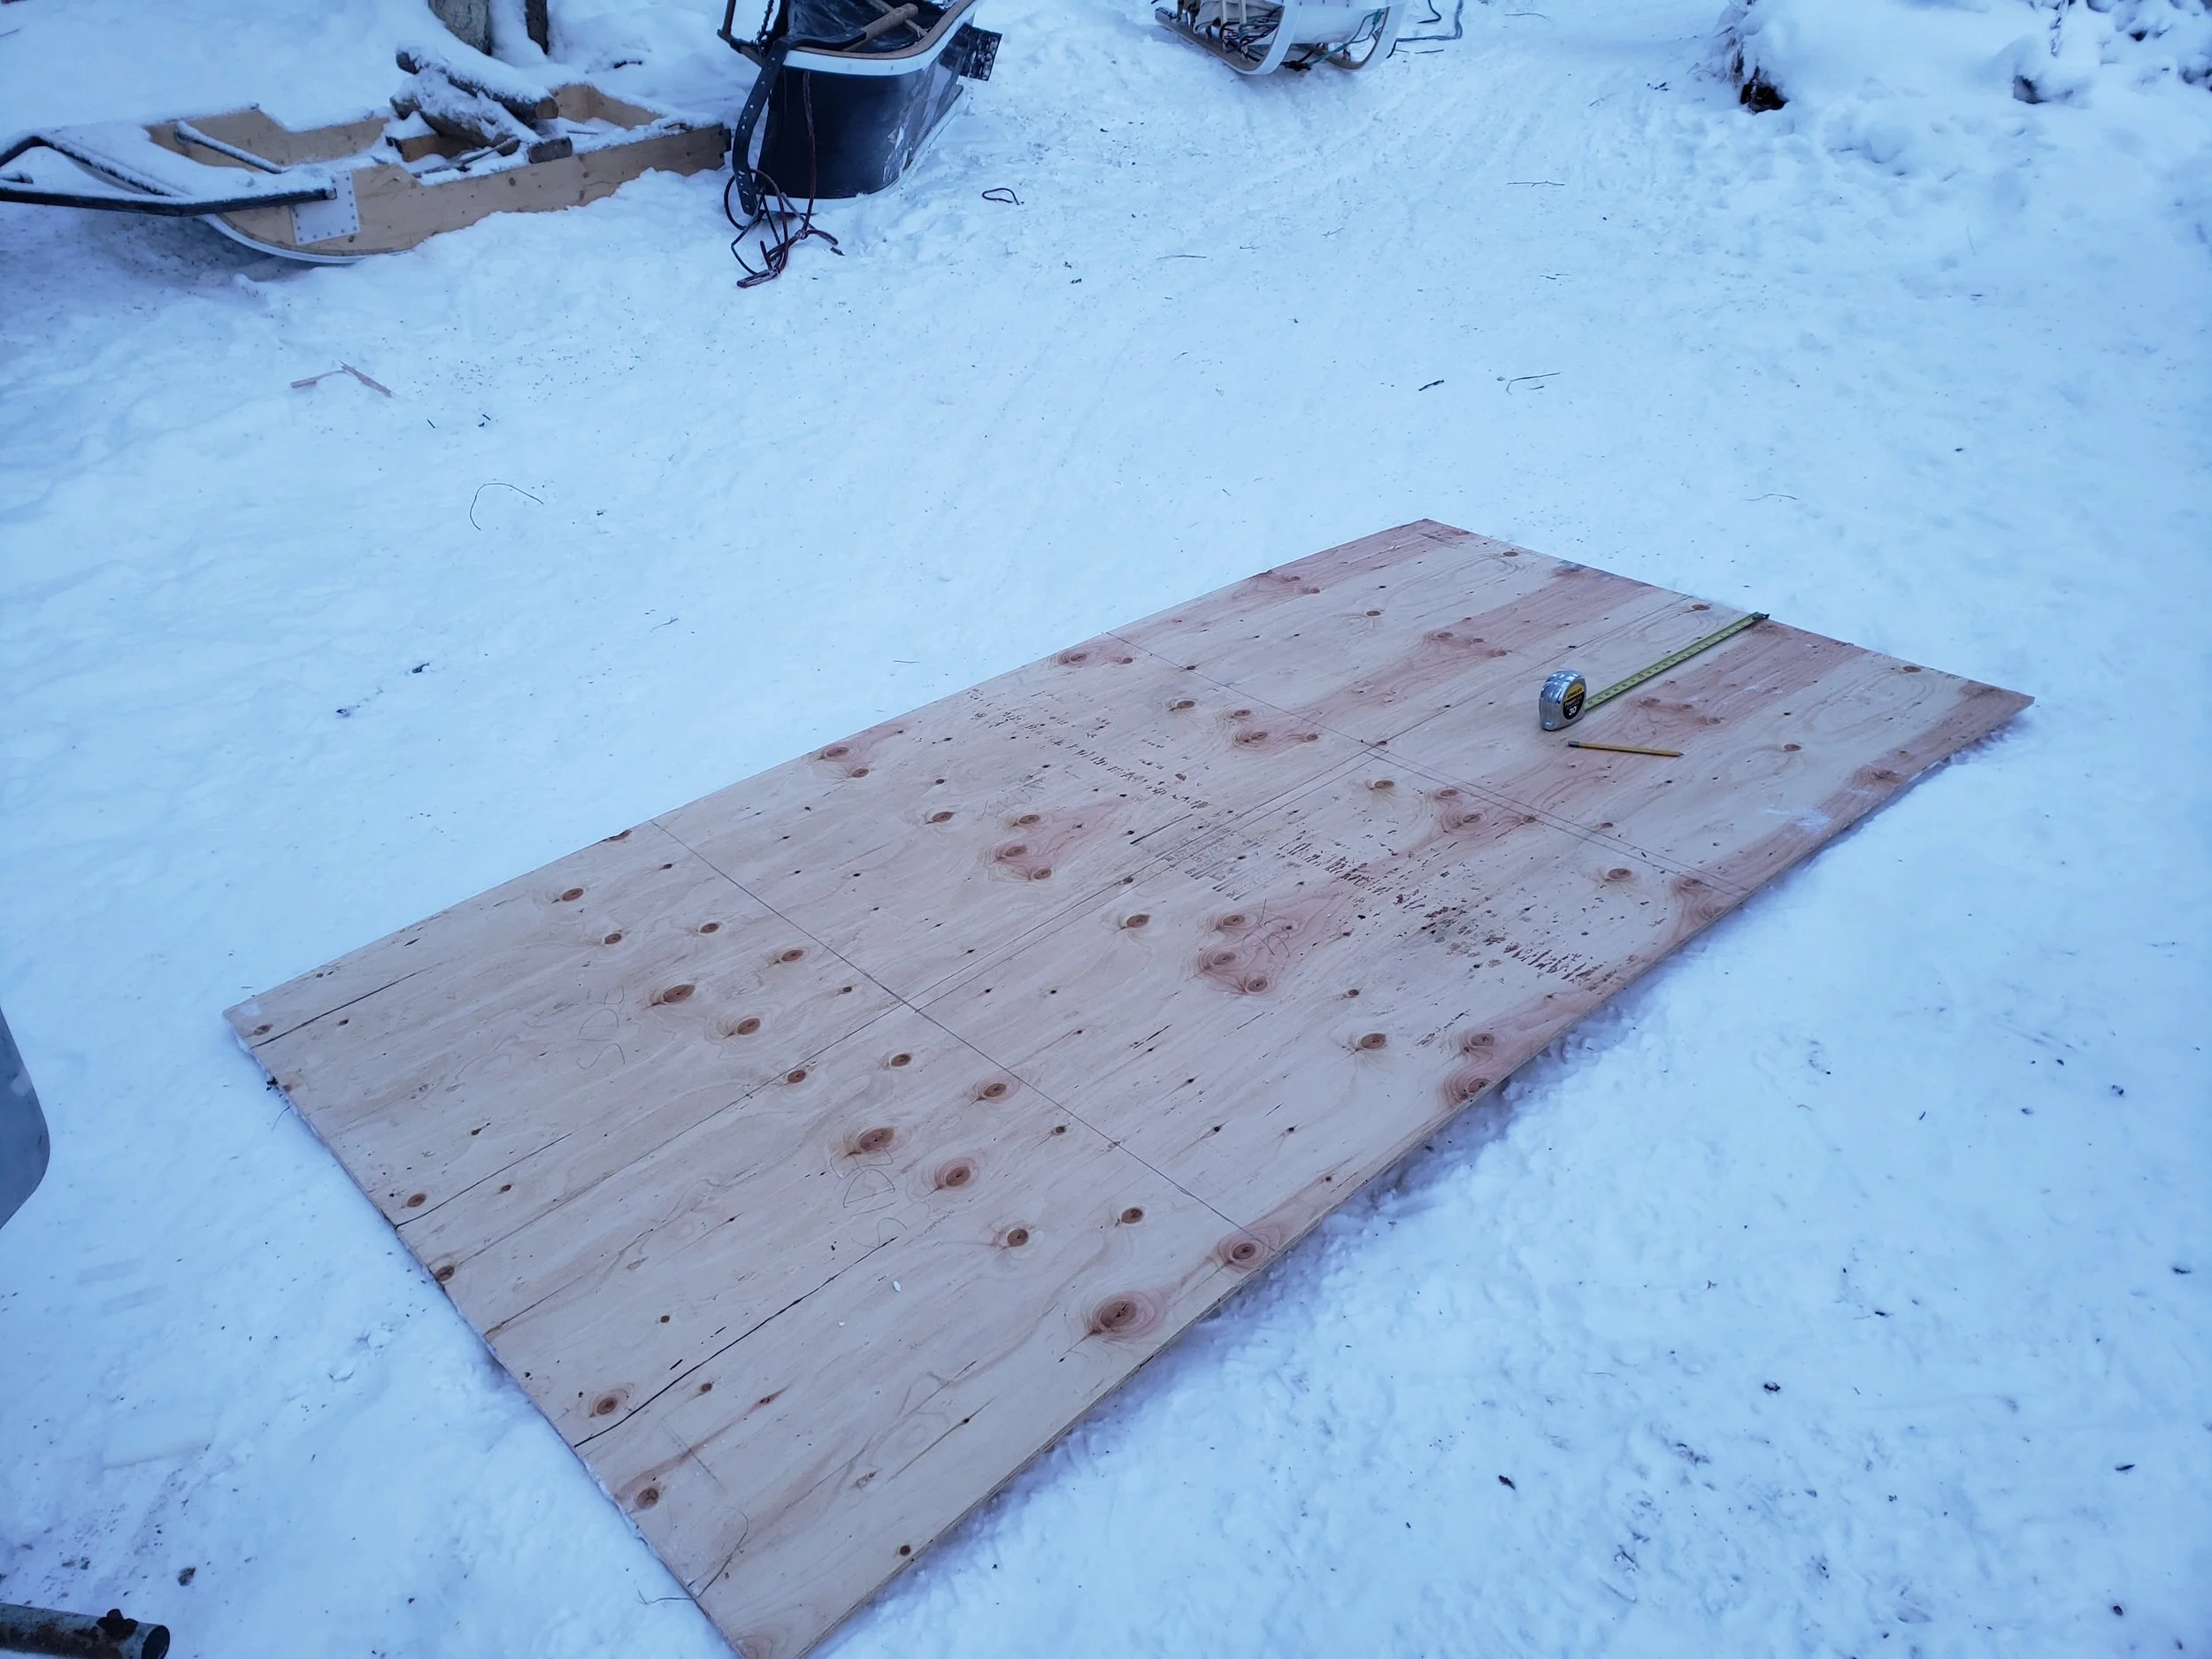
  • It's a material-efficient design, just one piece of plywood with very little wasted pieces.

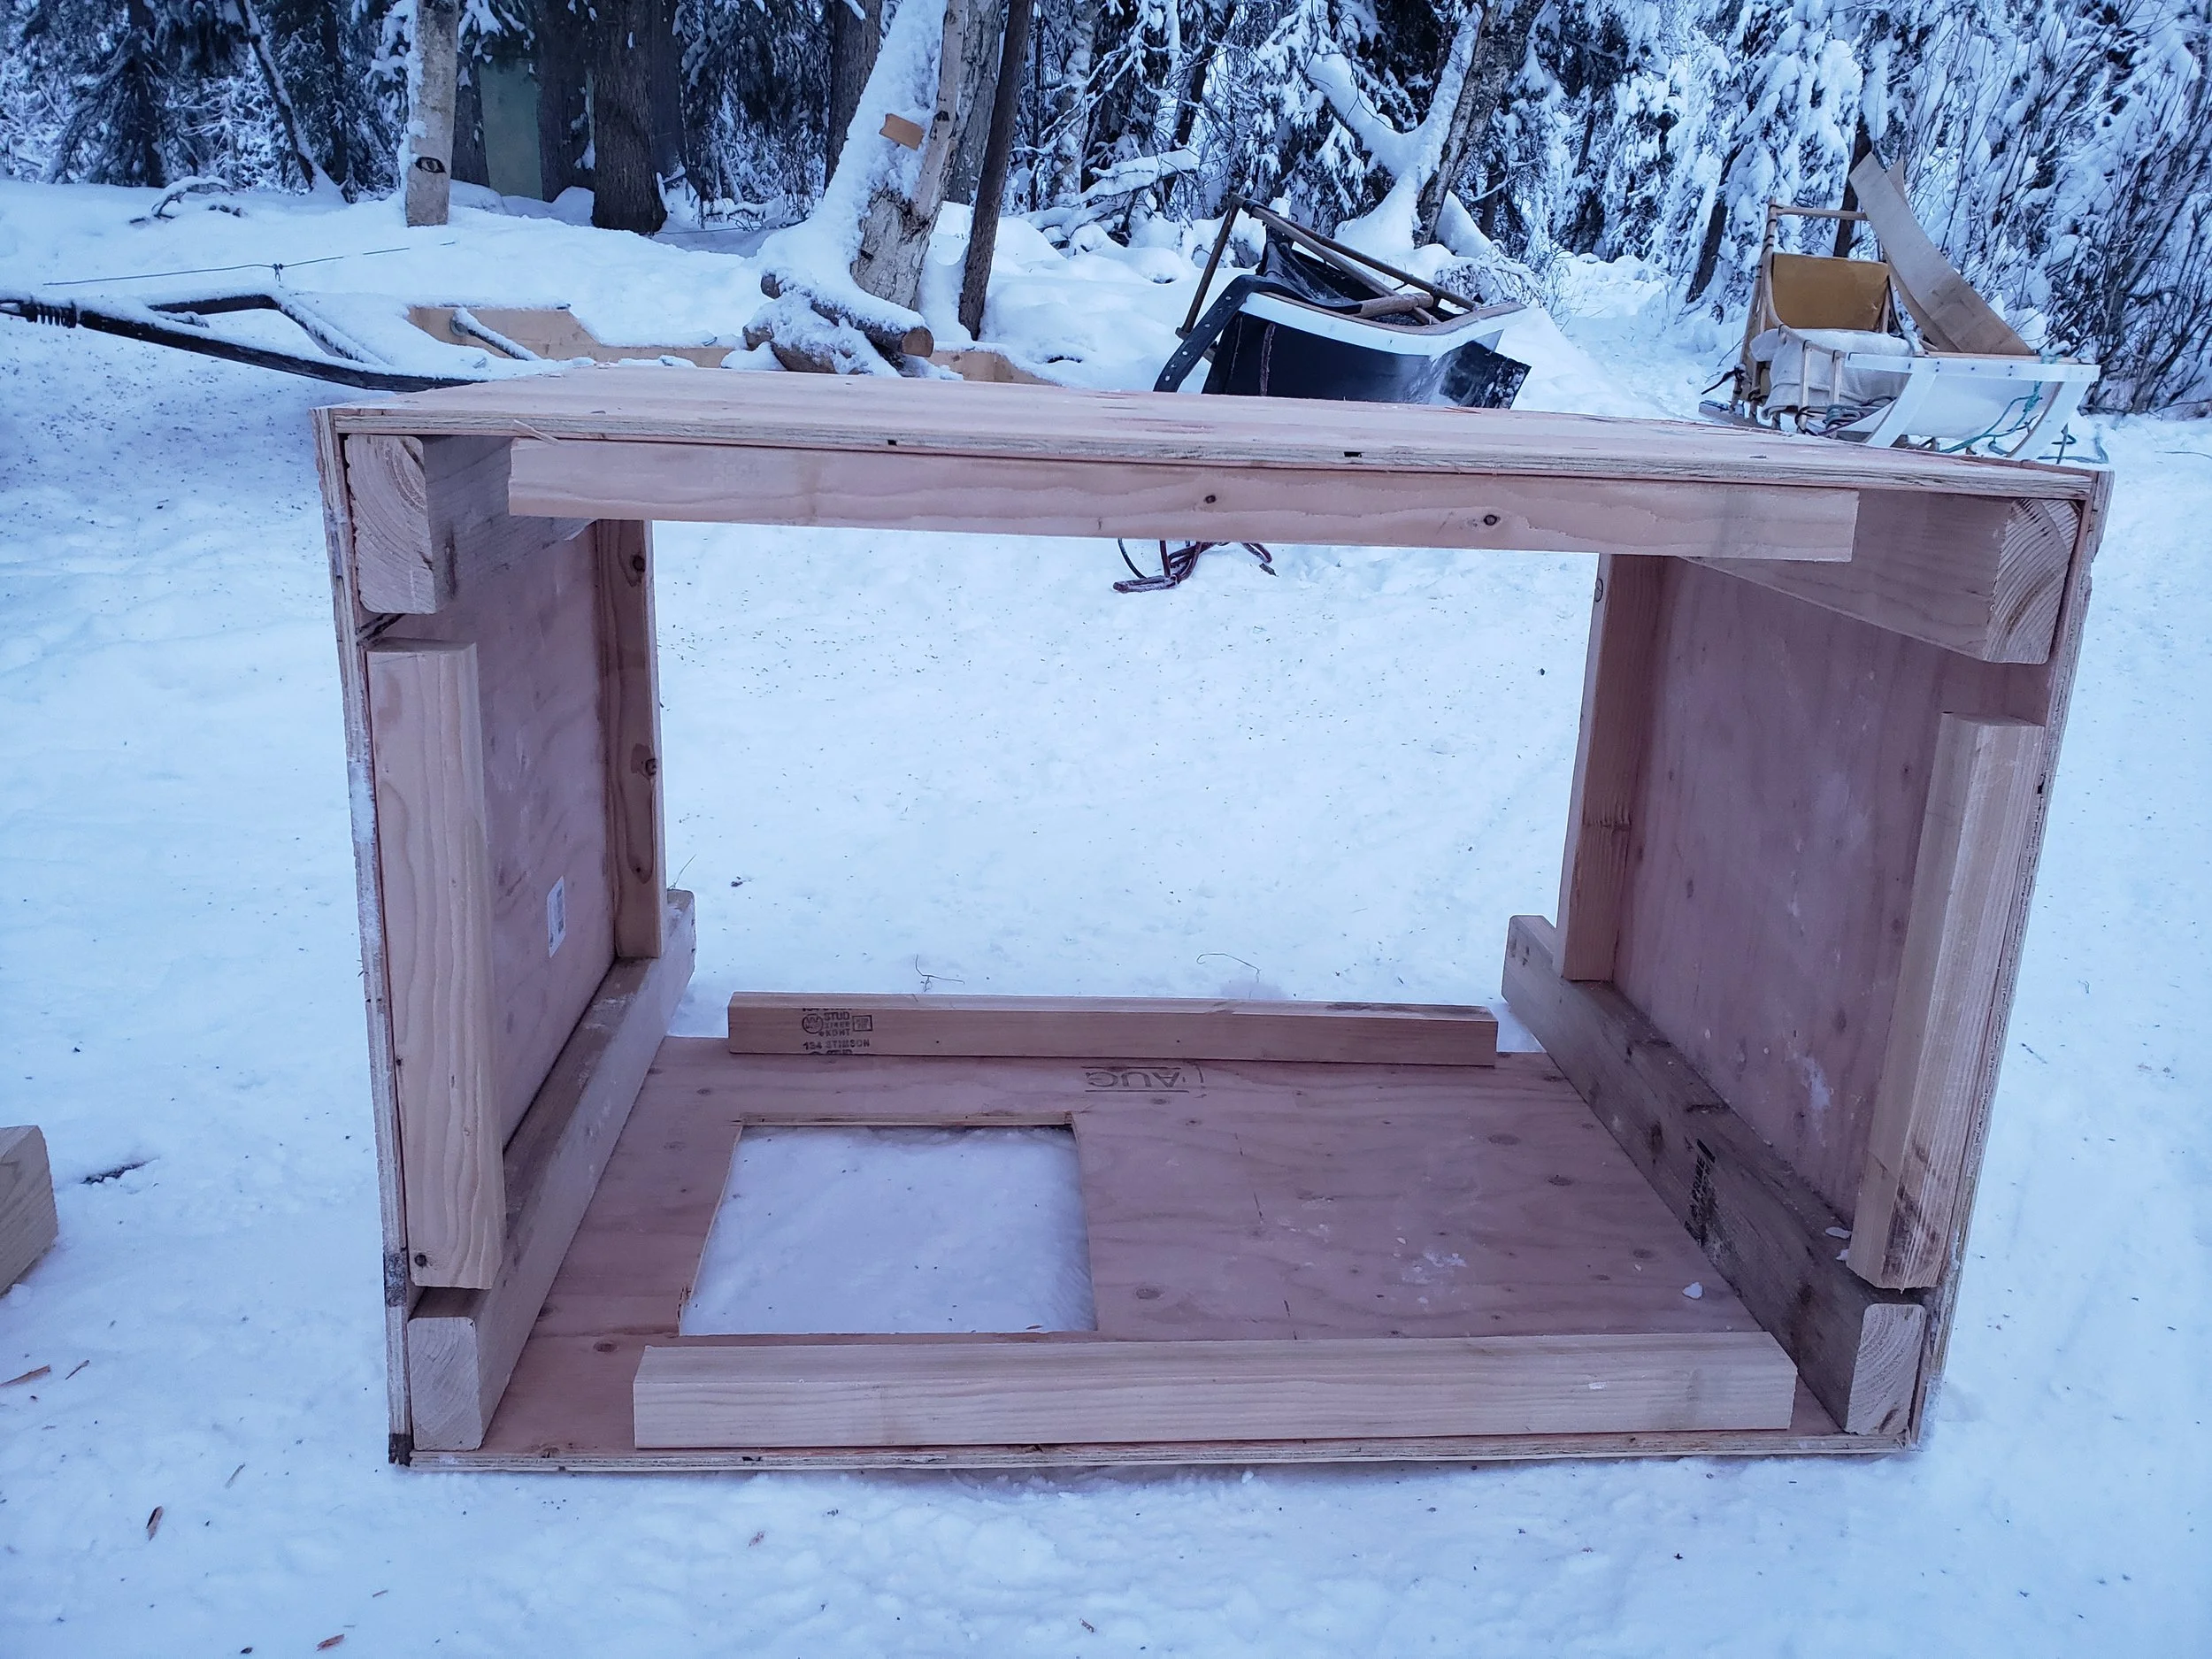
  • They're durable and long-lasting.

  • They're pretty big, we have big dogs but even the small ones seem to like a little extra room in their house.

  • They're pretty inexpensive to make.

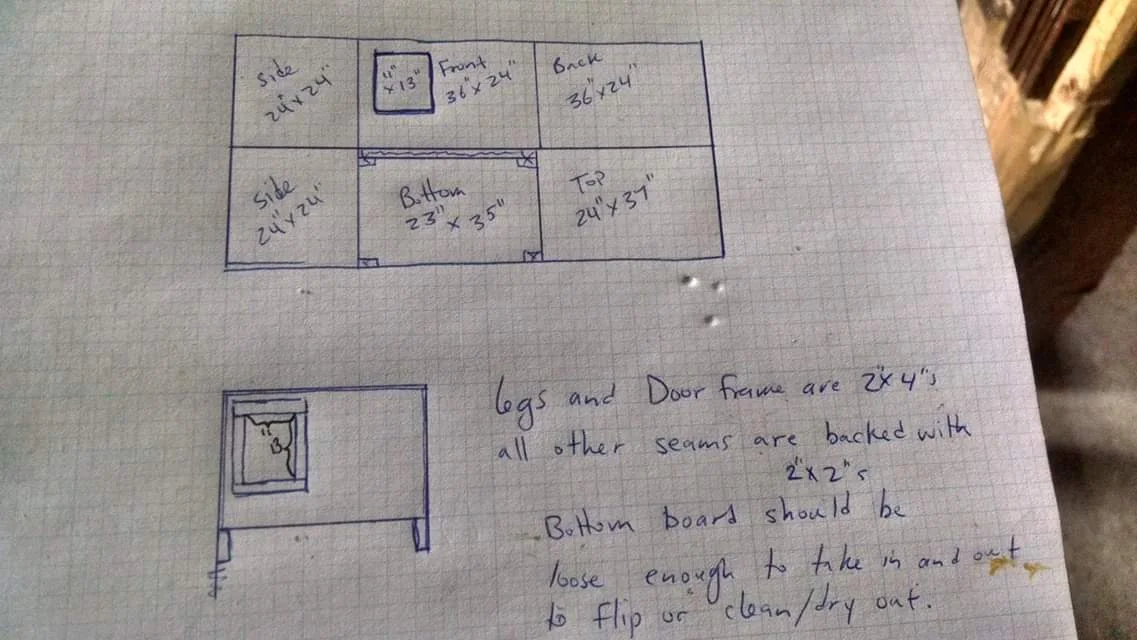
Here is the basic blueprint:

Dog house plans

Materials:

Plywood

  • 1 piece 1/2"

Legs (2x4s)

Drill a
  • 4 pieces 30"

Door frame (2x4s)

  • 1 piece 14",

  • 1 piece 10.5",

  • 2 pieces14.5"

Lining (2x2s)

  • 4 pieces 28"

  • 4 pieces 14"

Screws:

  • 8 x 3'“ screws for door frame

  • Box of 1 1/4” exterior deck screws

Tools:

  • Saw

  • Impact driver

  • Measuring Tape

  • Pencil

Pretty simple!

Step 1: Draw out your lines and cut the plywood. We have a portable table saw, so we used that. I’ve also done it with a skill saw.

Plywood
Cutting plywood

Step 2: Cut your 2 x 4s and 2 x 2s to length. We just cut a 2 x 4 in half to make 2 x 2s. Lay out all of the pieces, they should look like this:

Pieces cut out

Step 3: Start screwing it together. I start with the legs to form the basic shape and then put the interior pieces in (see below). The top is the last thing to get screwed in, make sure that it covers the endgrain of the pieces below it. The bottom is a loose piece that should fit in (but not easily). This makes the house easy to clean.

Insides

Step 4: Make the door frame- this helps the dogs get in and out of the house. The 4'“ side of the 2x4 should be exposed, check out the photo below. I like to make the top piece cover the endgrain on the pieces below it to prevent rot. Its a good idea to pre-drill your holes when making the door frame, you will need longer screws for this step. I make the frame and then attach it to the house.

Finished box

Step 5: Fill with straw and enjoy!